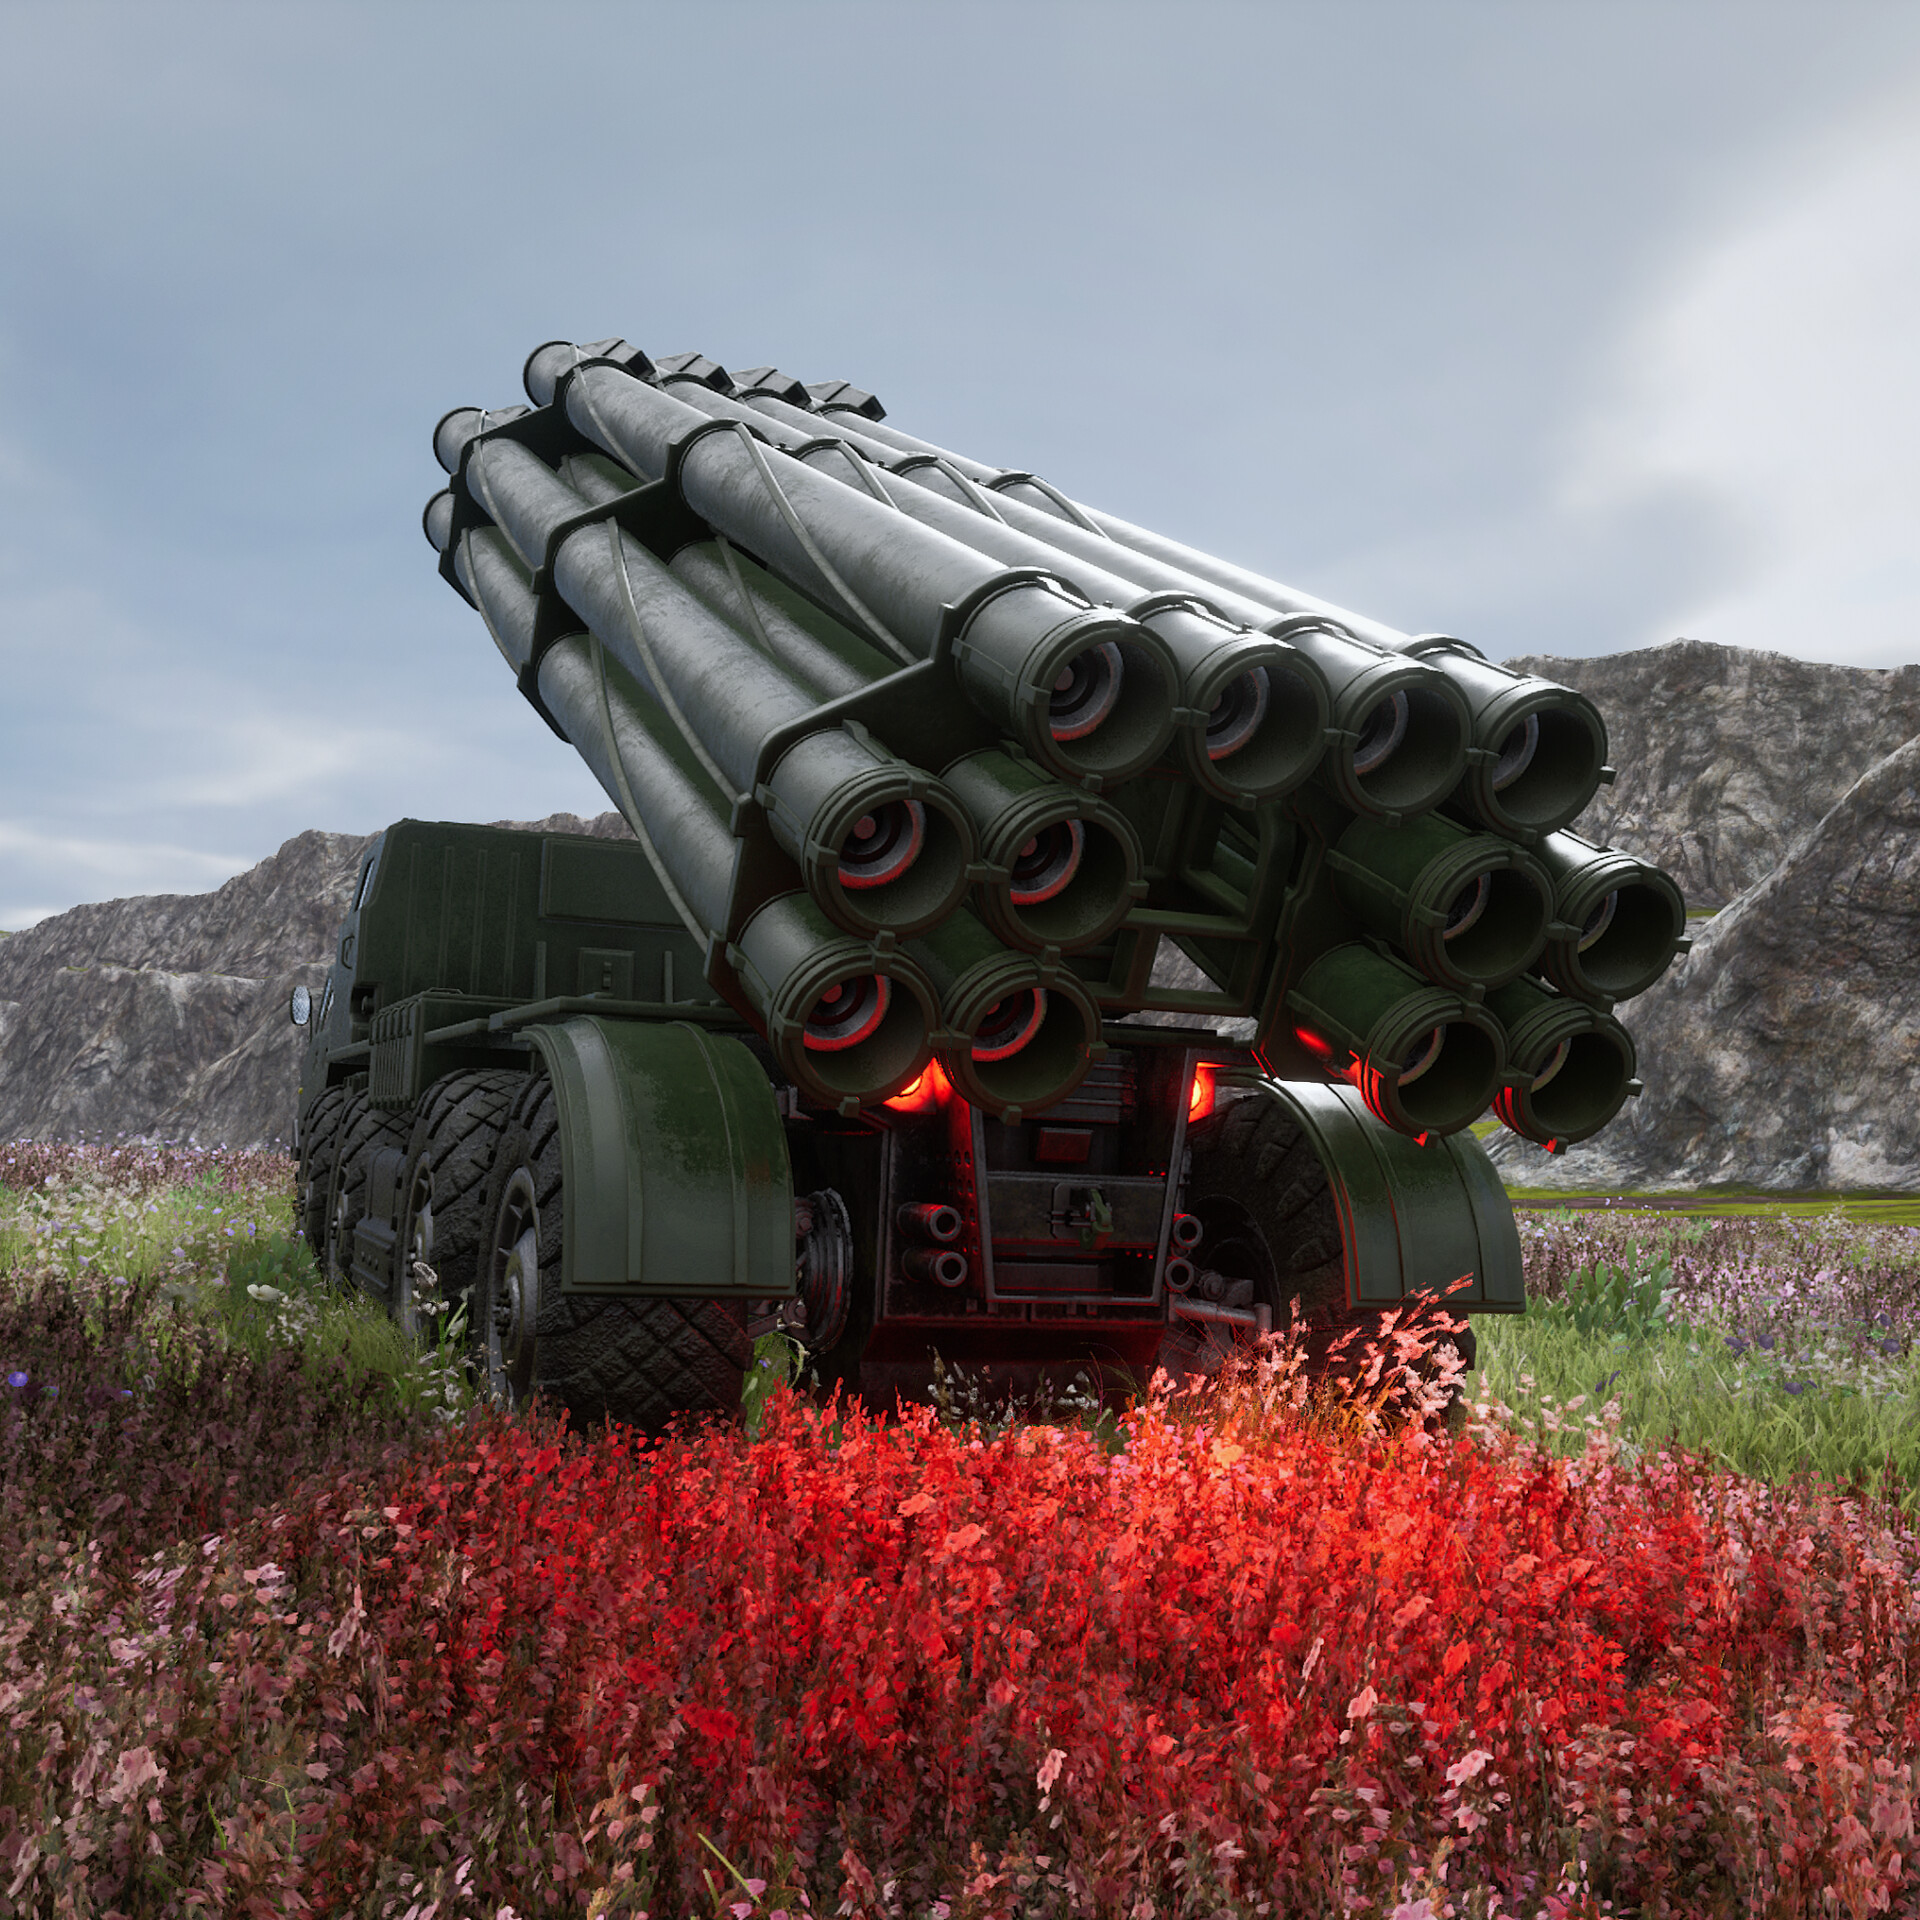
In this short tip, I want to describe my workflow of making vehicles for this project. I hope it It would be helpful in the future for those, who would want to add new models to the existing project.
Decide what you want to make.
Gather references. You need all sides of the vehicle, because they are mostly asymmetrical.
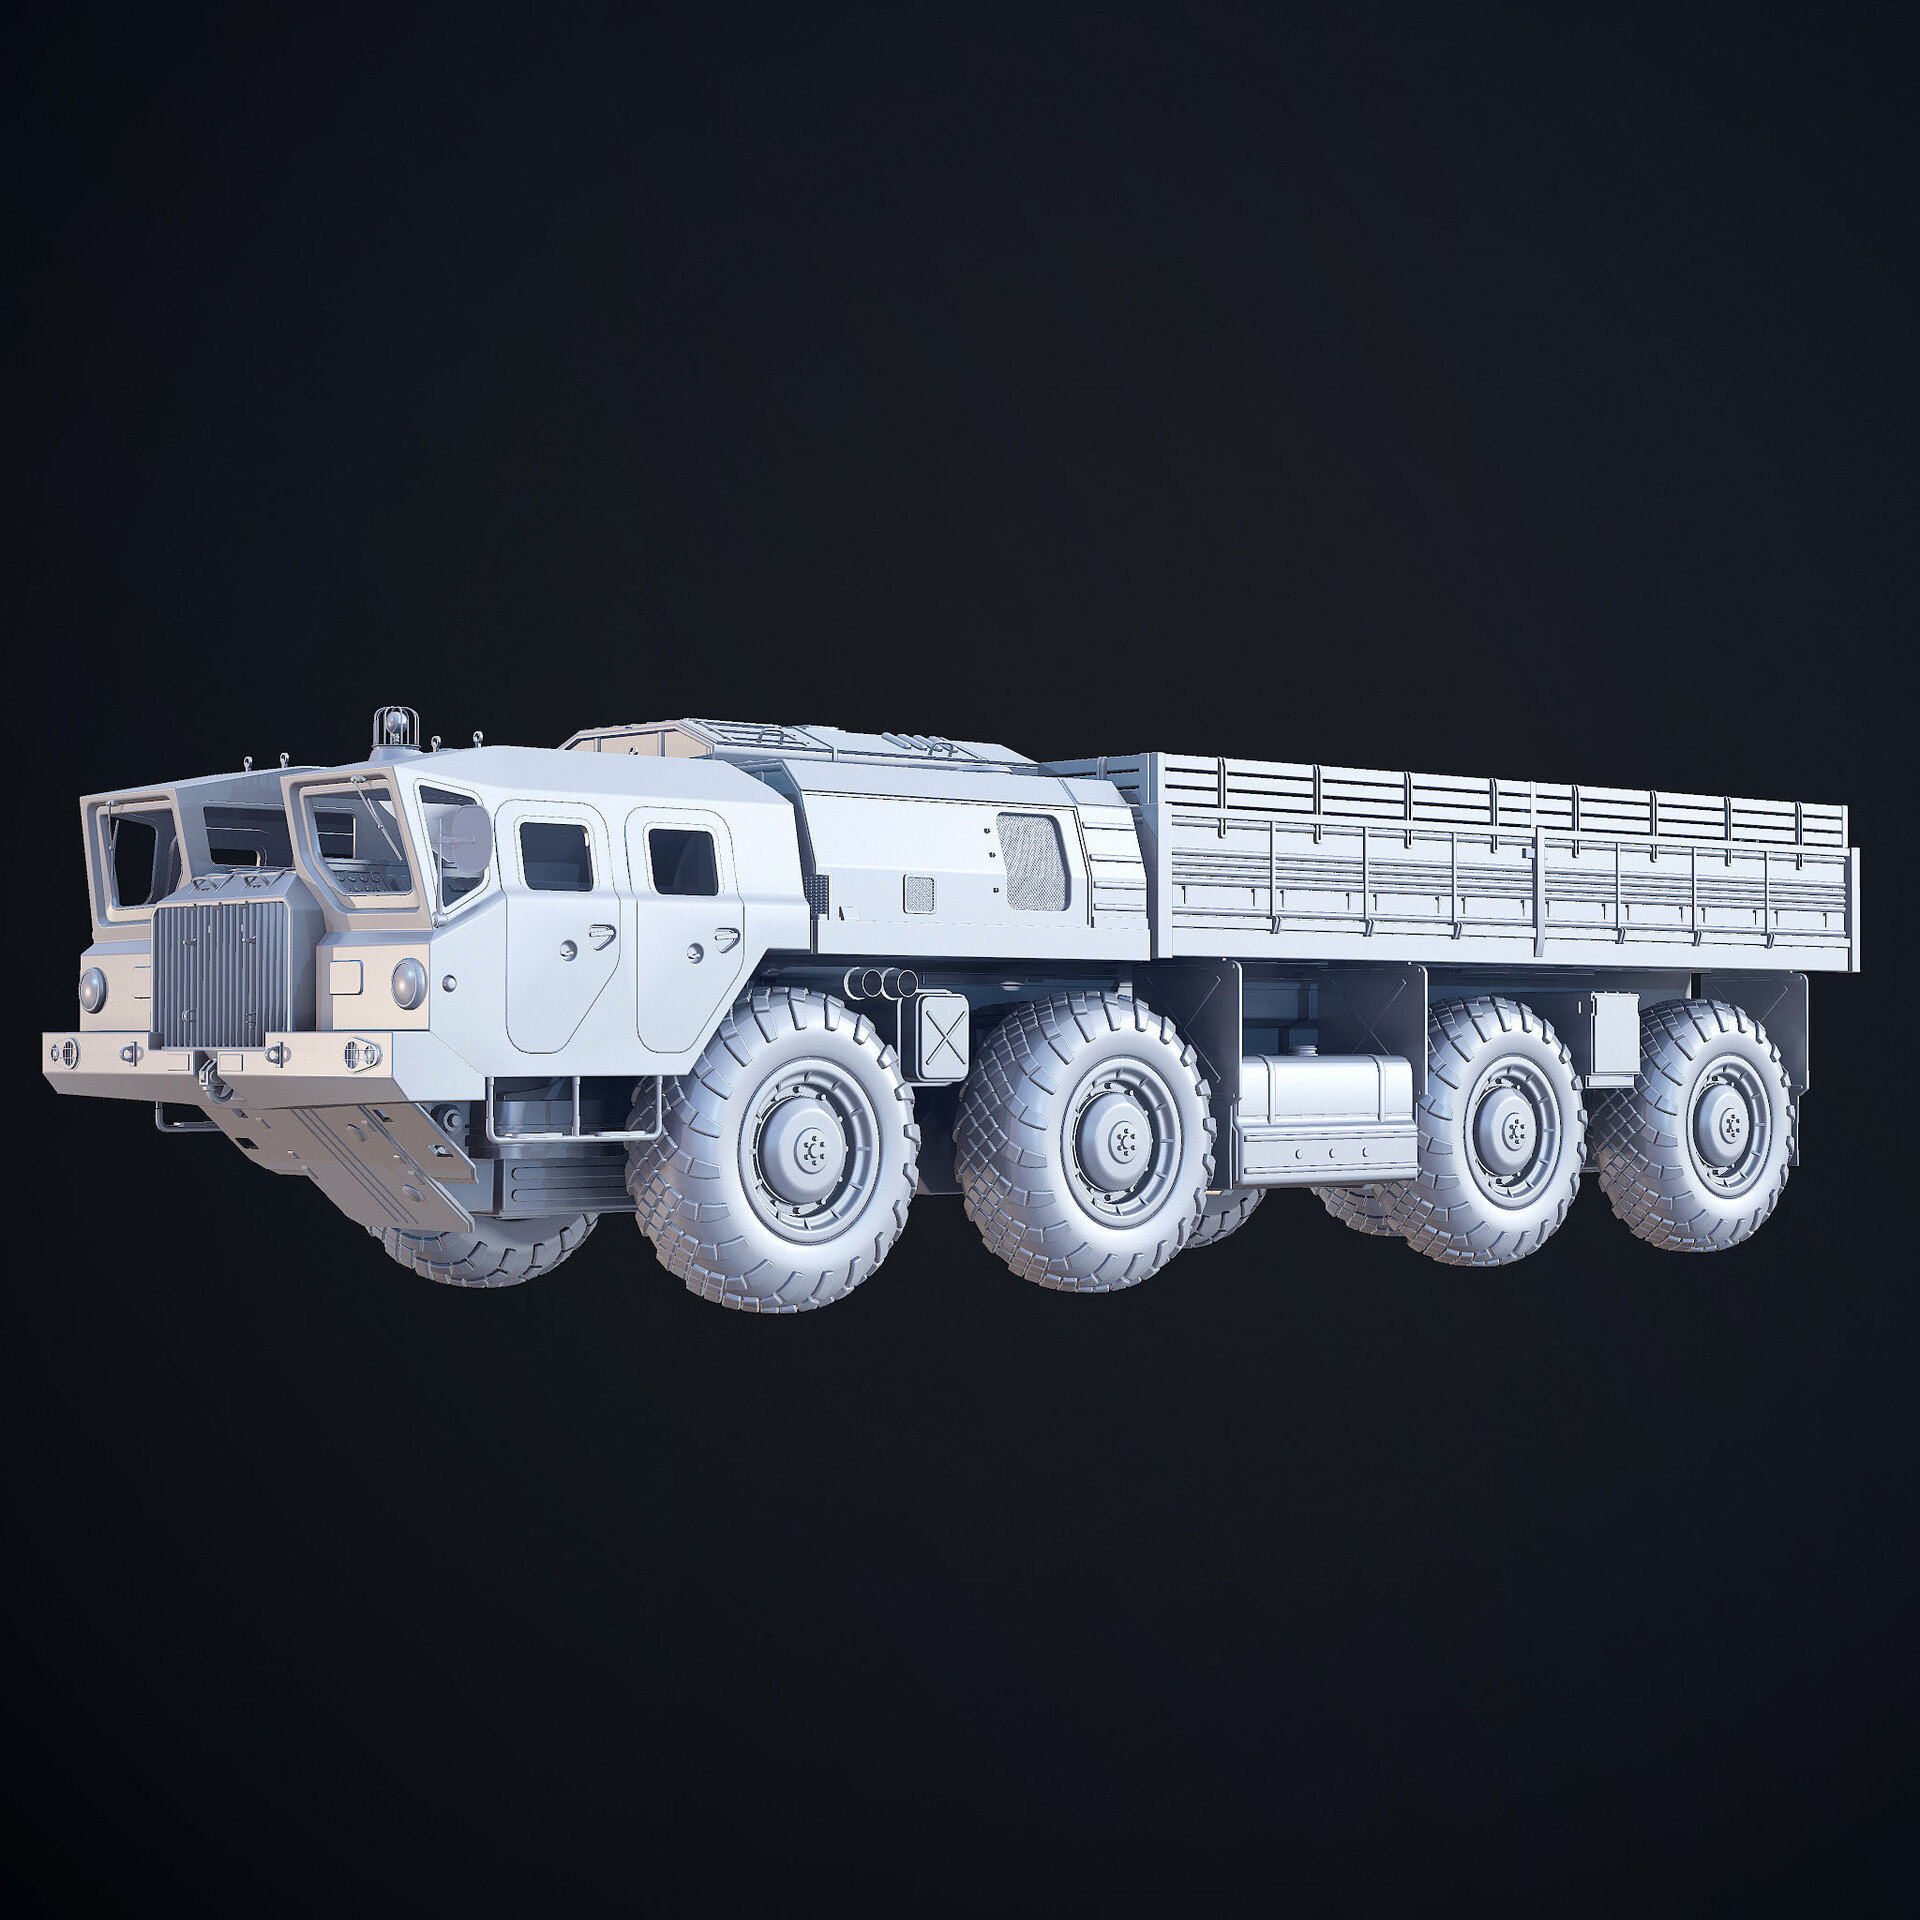
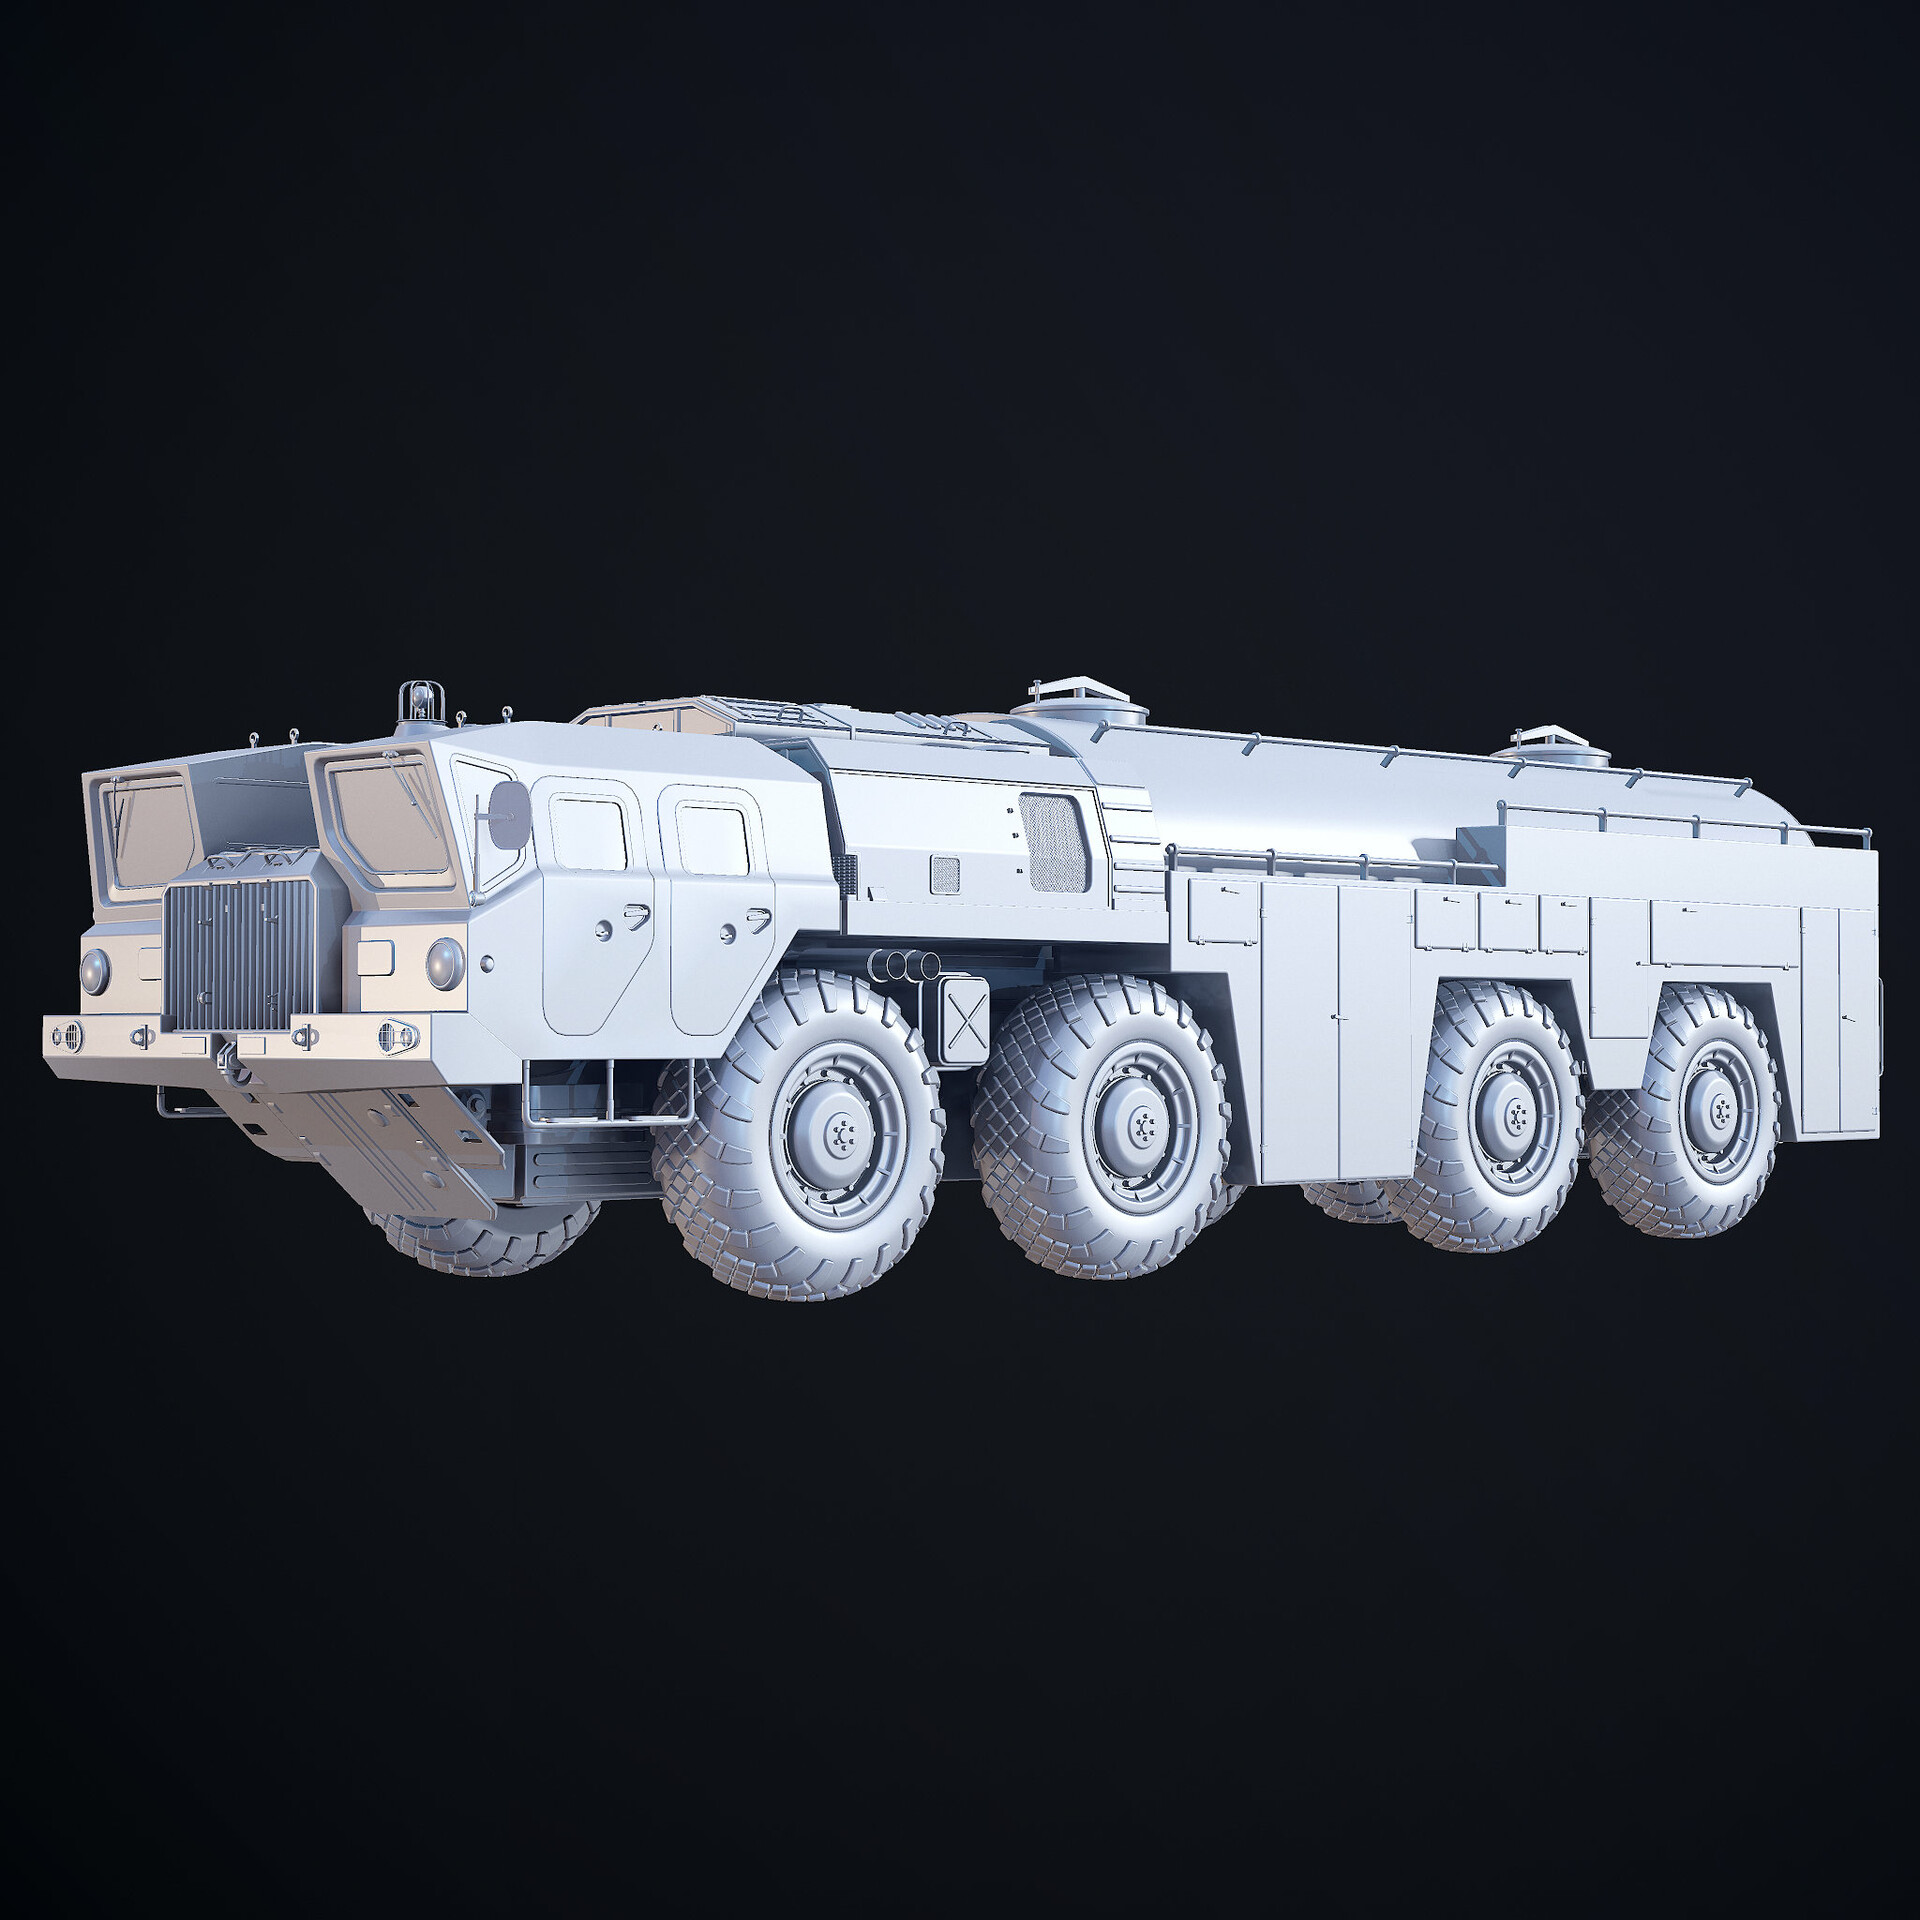
Make high poly mesh by using reference images. I’m using Blender. Mostly I’m using the following modifiers: mirror, bevel, subdiv, triangulate, array, boolean, sometimes solidify and wireframe.
When high poly is ready, it’s time to clean everything. Start from checking and applying Scale/Rotation.
Then you need to check your modifiers:
Make sure that bevel has 4 segments to prevent issues with materials. I’m using Angle or Weigh Limit Mode. Sometimes it’s useful to use Clamp Overlap or set bevel weighs manually (I’m using HOps, so most of the weights are set automatically).
Make sure that your mirror modifier doesn’t have Bisect or Flip U/V checkboxes selected. One Flip U checked and you’re risking to redo a lot of o work due to UV overlapping after export, so check carefully.
Make sure that your meshes have triangulate modifier with Keep Normals on. It helps in a situation when you don’t have a good topology and don’t want any issues with UV later.
If you’re using subdiv, 2 subdivisions are enough for baking.
Apply boolean or solidify modifiers if you didn’t do this already.
If you have linked duplicates, which exists in multiple collections, make sure execute “Make single user” command with Object Data checkbox selected, so each collection have duplicates, related to their own collection and they not shared between collections.
Apply materials to your meshes. If you have HOps, you can select multiple objects, press Alt+M and apply a material to all selected objects.
Make UV for your meshes. Use Shift+L hotkey to select all objects with the same material to pack UV. For cylinders do UV manually, for box-like meshes Smart Unwrap mostly is enough. Apply Average Island Scale before packing your UV. Don’t forget to apply solidify modifier before doing UV.
Create a rig for your meshes:
For armature set rotation X to -90 and scale to 0.01 for UE4
A vehicle for UE4 should be placed in X forward axis
Use 3D cursor and Shift-S hotkey to place bones in the exact location.
Use Ctrl+P -> With Empty Groups to bound meshes to an armature
Set vertex groups for your meshes.
Make sure that everything works fine in Pose mode
Save everything and exit Blender. Then copy your .blend file and rename postfix from High Poly to Game Ready. Open a new file in Blender.
For each mesh remove unnecessary (for low poly model) meshes, remove bevel and subdiv modifiers. Rename collection names postfix from High Poly to Game Ready.
Save everything again and exit Blender. Then copy your .blend file and rename postfix from Game Ready to Bake. Open a new file in Blender.
Append high poly collections into your bake file. Unhide all collections except current high poly and game ready for the selected model. Then by selecting similar meshes and moving them, explode model parts to get better baking results.
Export your bake meshes (2 meshes for each model - high poly and game ready for baking) and import them into Marmoset Toolbag.
Add baker, Set Multiple Texture Sets checkbox, select required materials, select all maps except Material ID, Set Fix Mirrored Tangents checkbox, Change output name, set samples to 16x, for Normal maps set Flip Y checkbox if you’re using UE4, set High Poly and Low Poly meshes, hide High Poly. Make test bake with normal map only to see if everything is ok. Then bake all other maps. Paint Scew/Offset if needed.
Open Game Ready .blend file and export your game ready models with armatures (you can also export the combined mesh, which contains all models, to simplify the texturing process). Open Substance Painter 2, import your mesh and baked textures. Apply baked textures. Add custom channels (L8). Apply masks and export normal maps + masks + RGBAO maps (packed with Grime/Scratch/Dust/AO masks).
Import your game ready meshes and created textures into UE4. For masks texture set compression settings to masks. Make Physics Assets for meshes. Apply non-customizable materials (like mirror material) to the meshes. Create blueprints for new modules.
Vehicle got much stable driving behavior - no more sudden stops due to landscape irregularities or crazy spinning wheels when they in the air (now it’s a per tire check if wheels touching ground instead of a general check for all tires)
Lots of improvements and bug fixes, related to inter-module communications
Worked a little on customization level demo environments as well as on the ability to take screenshots
I have such task (decals support) in my task list, but can’t guarantee at this moment that it will be done (maybe it will be moved to vol. 3).
Indeed, it’s a blueprint only project, so I limited in a lot of things. But if the project will be popular, it’s possible to create additional C++ addons for it.
I think he meant to upload custom textures via OS file dialogue into the project at runtime. TextureSampleParameter2D allows you to change only already packed textures (maybe I’m wrong).
Boosters support (now you can use good old nitro to speed up the vehicle or use jumpers to make small jumps)
Pause menu.
Ability to change the camera in First Person Character blueprint - from first to third-person view. Body in the first-person view is also visible.
Installed modules now have text indicator to separate them from non-installed.
Now you can add infinite amount of module types with socket-based attachment. Previously only weapons can be installed in such way.
Modules now can execute multiple actions instead of single activate/deactivate events.
Documentation improvements
I also moved to Jira instead of just plain text document to manage tasks, because the number of tasks much more exceeded one hundred and keep growing so I felt that I need better tools to manage this project.