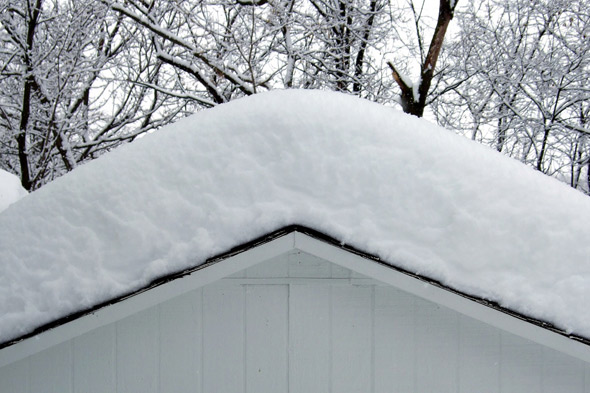
I am trying to create a snow type shader using layered materials that make it look like there is a pile of snow on top of the surface without using a mesh much like in the image below but not so extreme:
I am trying to use bump offset to achieve this but am not getting anywhere with it at the moment. This is what the normals/height mapping part of my shader looks like with a couple of unattached nodes for experimentation:
Bump Offset is just a shift of texture coordinates so it’s not suited for what you are looking for. It’s spossible to get a better result by chaining up multiple Bump Offset nodes (=iterative parallax mapping) but again, it won’t work out very well for snow building up.
Yes, I was thinking this. My friend pointed me in the direction of tessellating the mesh so that the mesh deforms rather than the texture itself. I’ll give a look into it and come back with my results
Tessellation won’t give you the detail you want - You also have too many nodes going on for bumpoffset in your screen grab and you have no height maps
Make sure you are using the **BumpOffset ** under Utility (the one with only 3 outputs) NOT Texturing
Then just attach the **Height ** output to a heightmap (can be any channel other than main - RGBA)
Now attach all of your texture maps UV outputs to the Input of the BumpOffset node, which will offset all of those texture maps
Here is a screen grab of the most simple setup with a depth multiplier, also note that BumpOffset will NOT create geometry or a silhouette, it only fakes the appearance of depth
Why not? It’s not about little surface details but the snow building up as a whole.
Also you don’t need a separate height map for what the OP is trying to achieve, since the snow mask itself (world space up vector) defines where the mat should be offset.
So after playing around and looking into other ways to do this, I think I have found my solution. Rather than using BumpOffset I am using world position offset which is working quite well so far:
There is however a snag. It doesn’t like corners. When it offsets the surface it uses the vertex normal to do so and since the snow is on the top most surfaces when it is on something man made with sharp corners the whole surface is offset leaving mesh gaps like below.
I have just discovered that using vertex normal makes the mesh split a the seams…is there anyway to avoid this happening like having the verts offset but keep attached to everything else?
Well basically everything that is black will not move everything that is in a specific color channel or Alpha will move with your world displacement
So if you export the chair texture for example you can make all of the edges of the cushions black and everything else white, red, green or blue then just multiply your displacement by that mask
Crack free displacement from tessellation. If you don’t want that, I would use a color in vertex painting (you have 4, so, blue or alpha would be good) to bind the mesh back to 0 wherever there are seams.
Also, I noticed that your material is just offsetting the entire mesh. If you want a cool effect, you could use vertex painting to paint the snow on, or use a positive Z-axis mask on top. You could even lerp the vertex offset value from 1.5 to 1 based on whatever vertex color you wish to use for painting (or the Z-axis map).
Most of this effect is actually going to come from using a normal map. Unless you’re tessellating by an extreme amount, vertex displacement is a very small part of the overall effect to help the shape of the normal map look more believable.
I am aiming to make this as dynamic as possible so vertex painting snow onto lots of different meshes may not be the best option for it. The idea is to have the snow pile up over time. I could fake this by editing the thickness over time but having it offset slightly as it builds up is the effect I am going for.
I shall keep at it unless there is absolutely no other way then I shall fake it as best I can using normal maps
I’m also trying to do POM and displacing mapping in UE4, i’m trying various Technics but I just can’t make it look like in Cryengine 3…
Cryengine 3 has the best POM, and its so simple to do… hell even the Marmoset toolbag have better POM i can have the right POM configuration in just about 4-8 seconds in the toolbag!
I can’t understand why epic make it so dam difficult… all this nodes in the material editor it’s not an easy workflow,
and yes, I came from Cryengine 3
That looks like a mixture of different masks and alphas plugged into different channels. For instance, it looks like the Green channel is maybe a height map or AO map, and the Red and Blue channels are something else, like Roughness.