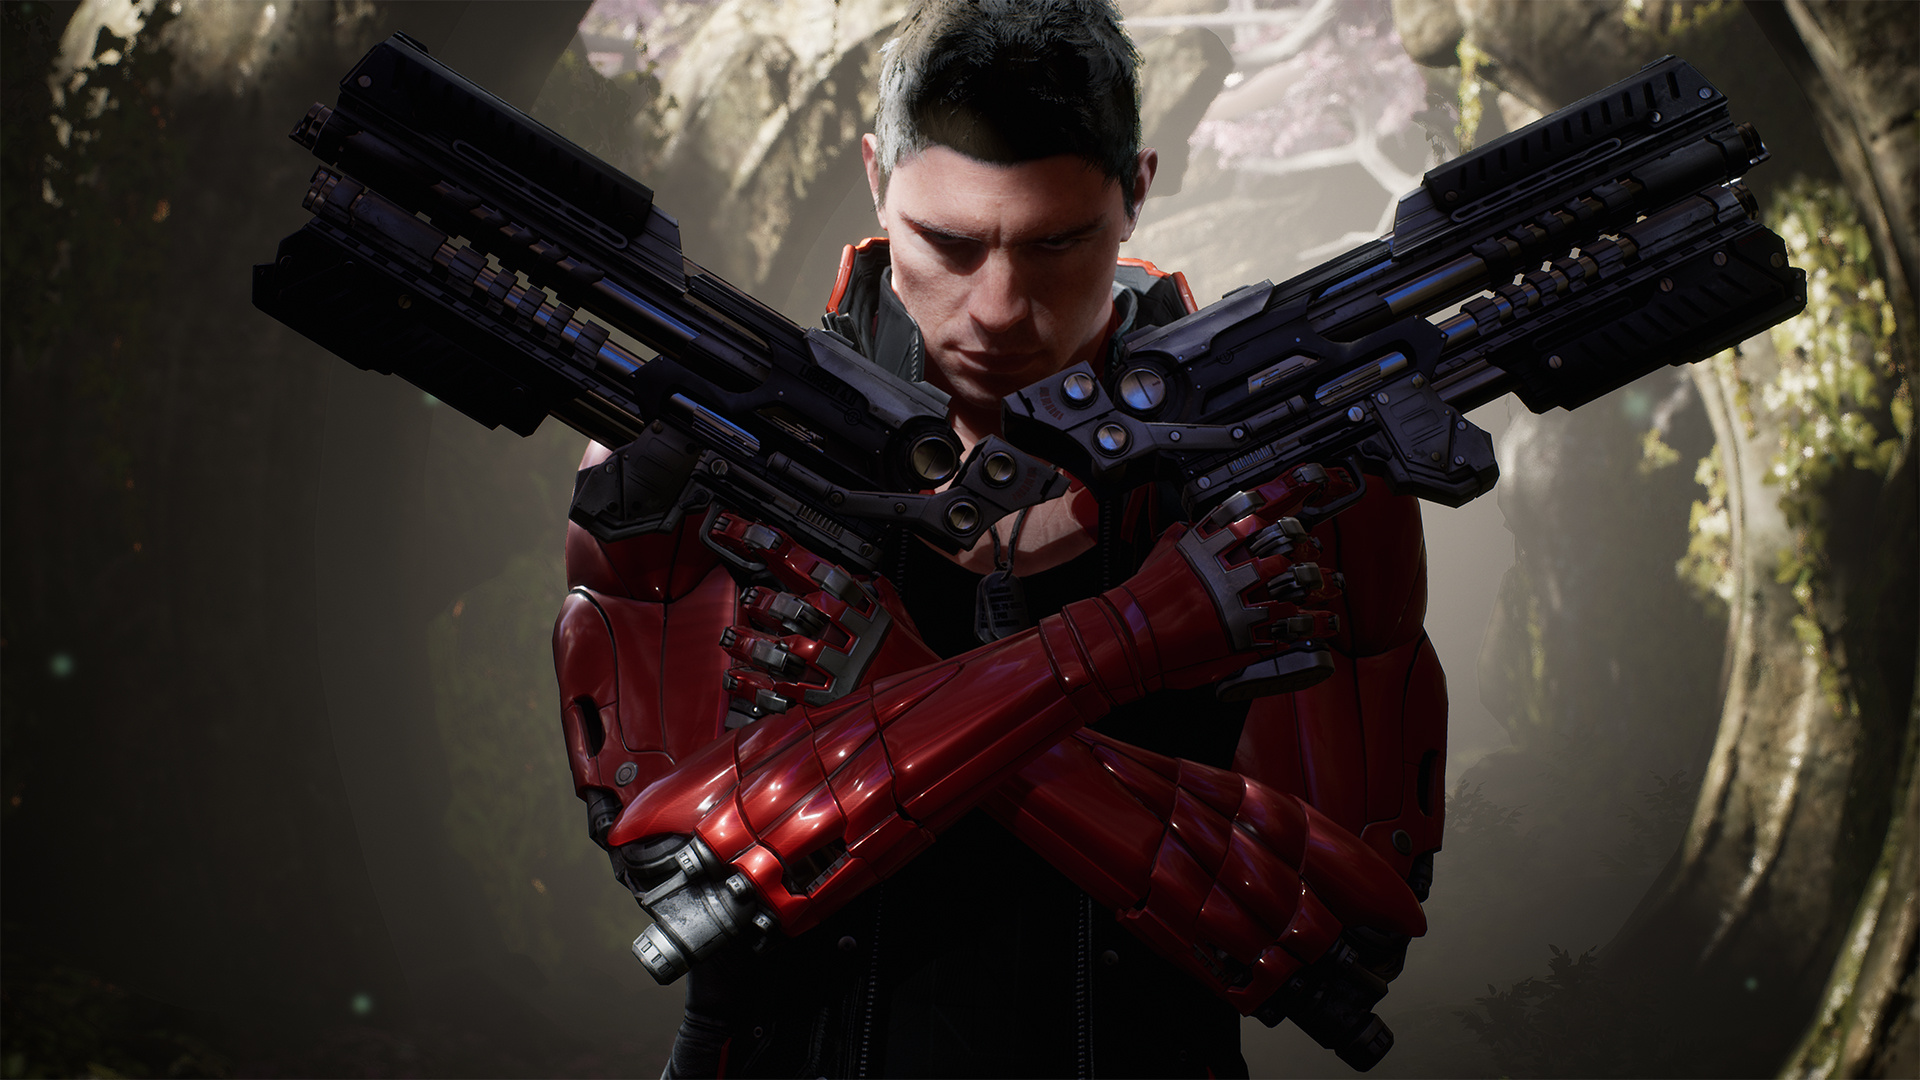
Hi I’m new to UE4 so I hope some more experienced members can help out. I have a problem with some black artifacts on the hair that move when using dfao as seen in the video. Does anyone know a fix this?
DFAO and TemporalAA both use “earlier” rendered frames. This causes blur and ghosting effects. Atleast TemporalAA is ****** implemented in UE.
Don’t know why DFAO needs multiple frames.
Try to disable TemporalAA or both.
DFAO does not work for skeletal meshes though, because Skeletal Meshes don’t generate Distance Fields. If you want to use this mesh for a character, DFAO won’t work.
There are many options you can tweak for your outdoor scene.
I usually use a more unsaturated Directional Light colour with RayTraced Shadows.
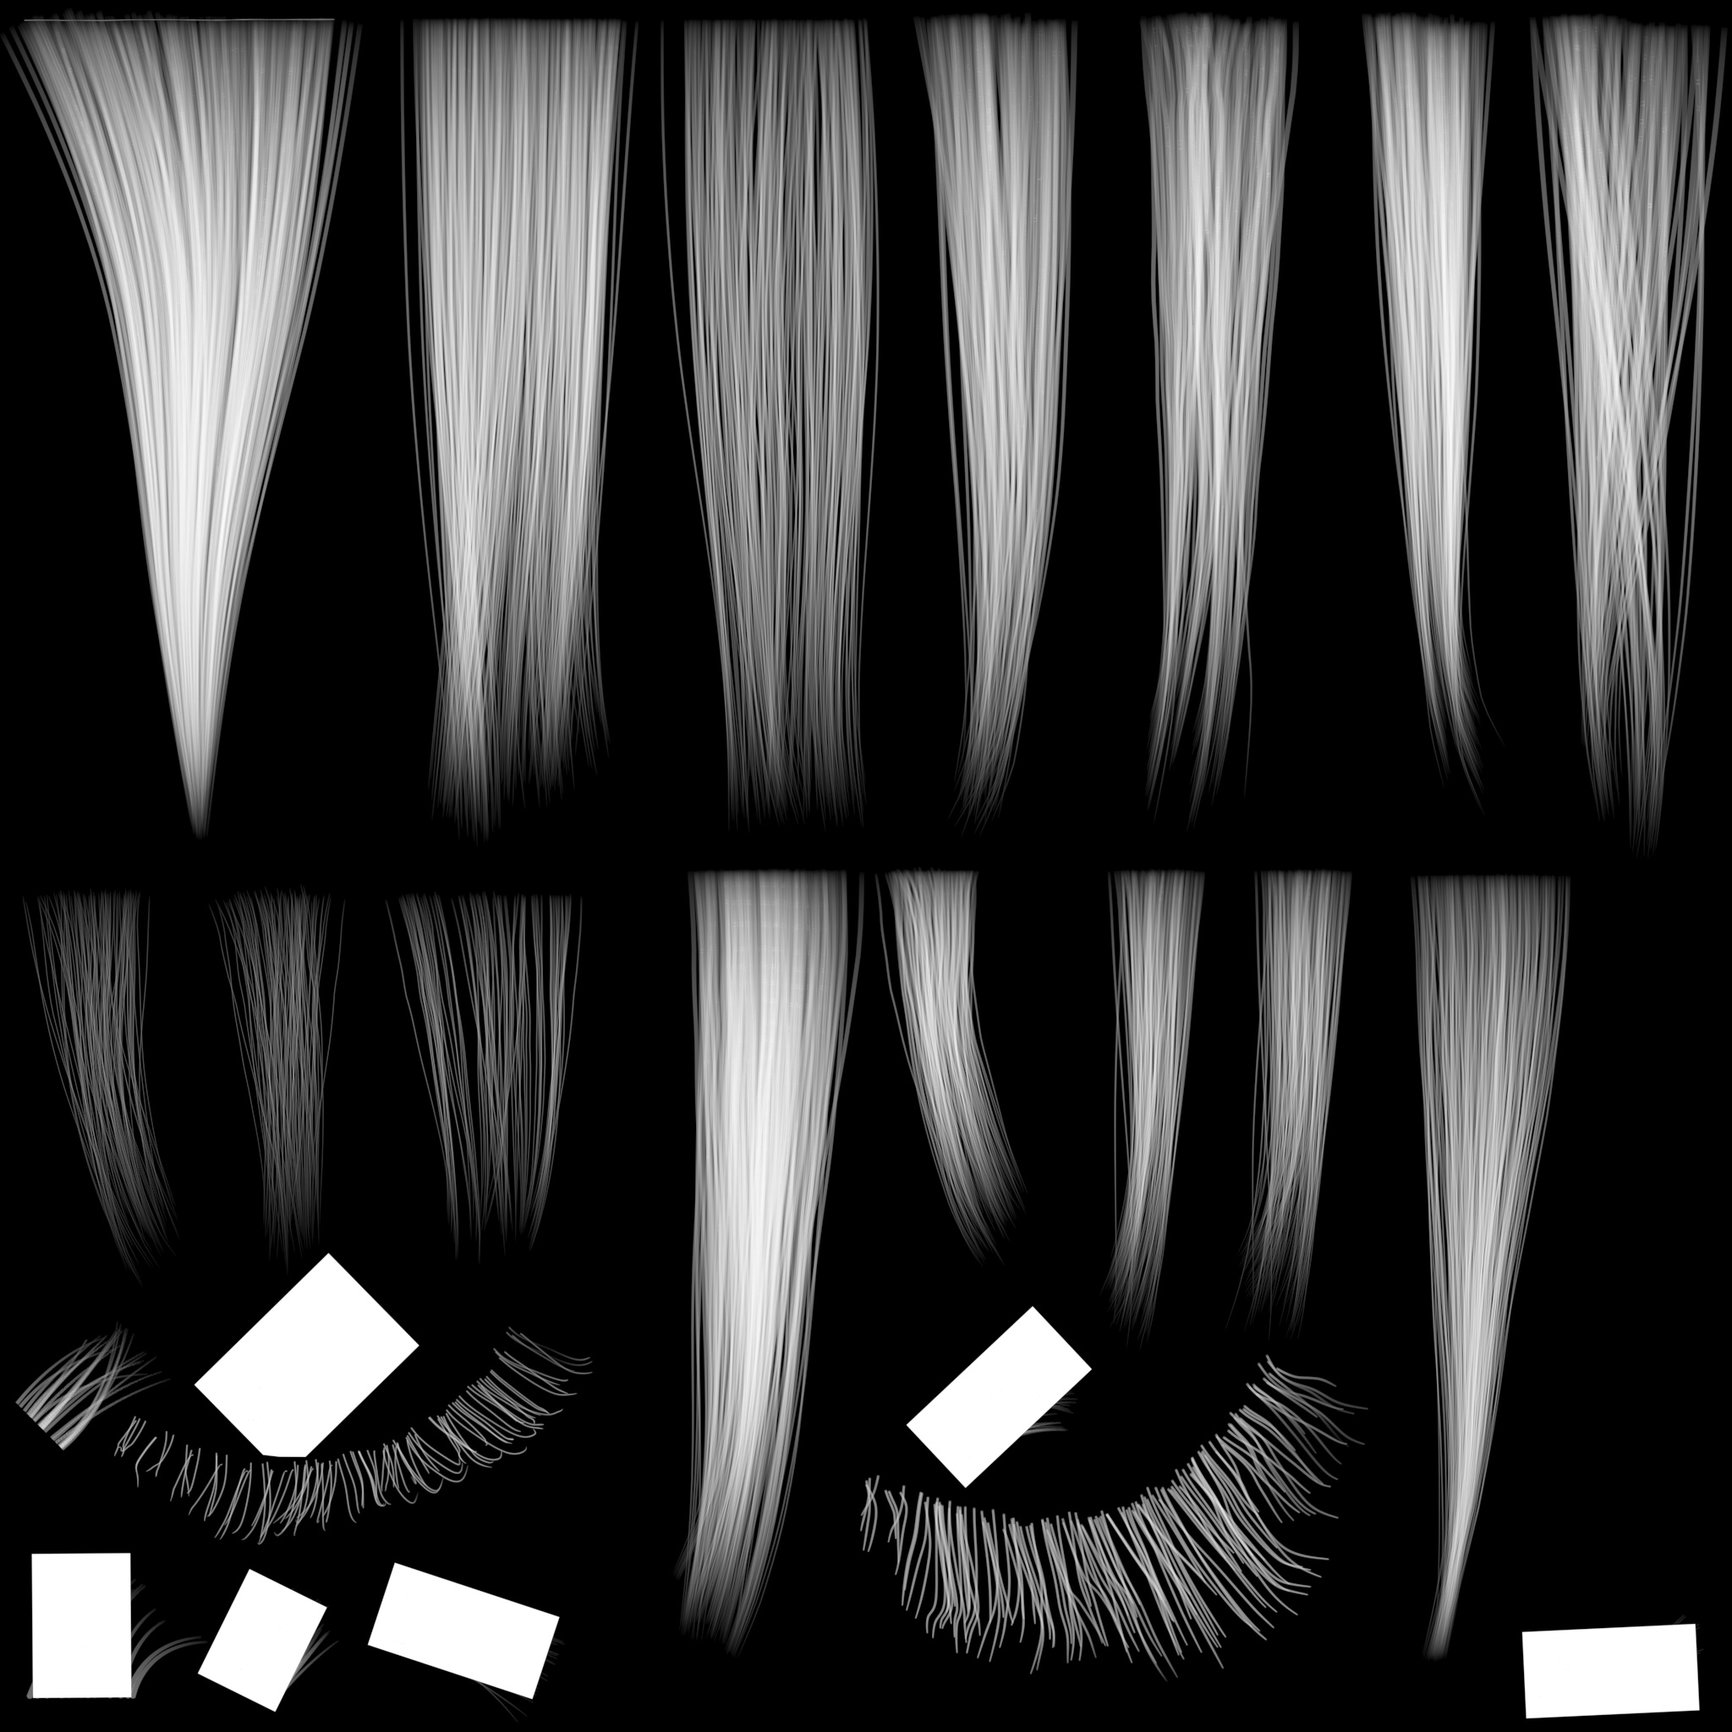
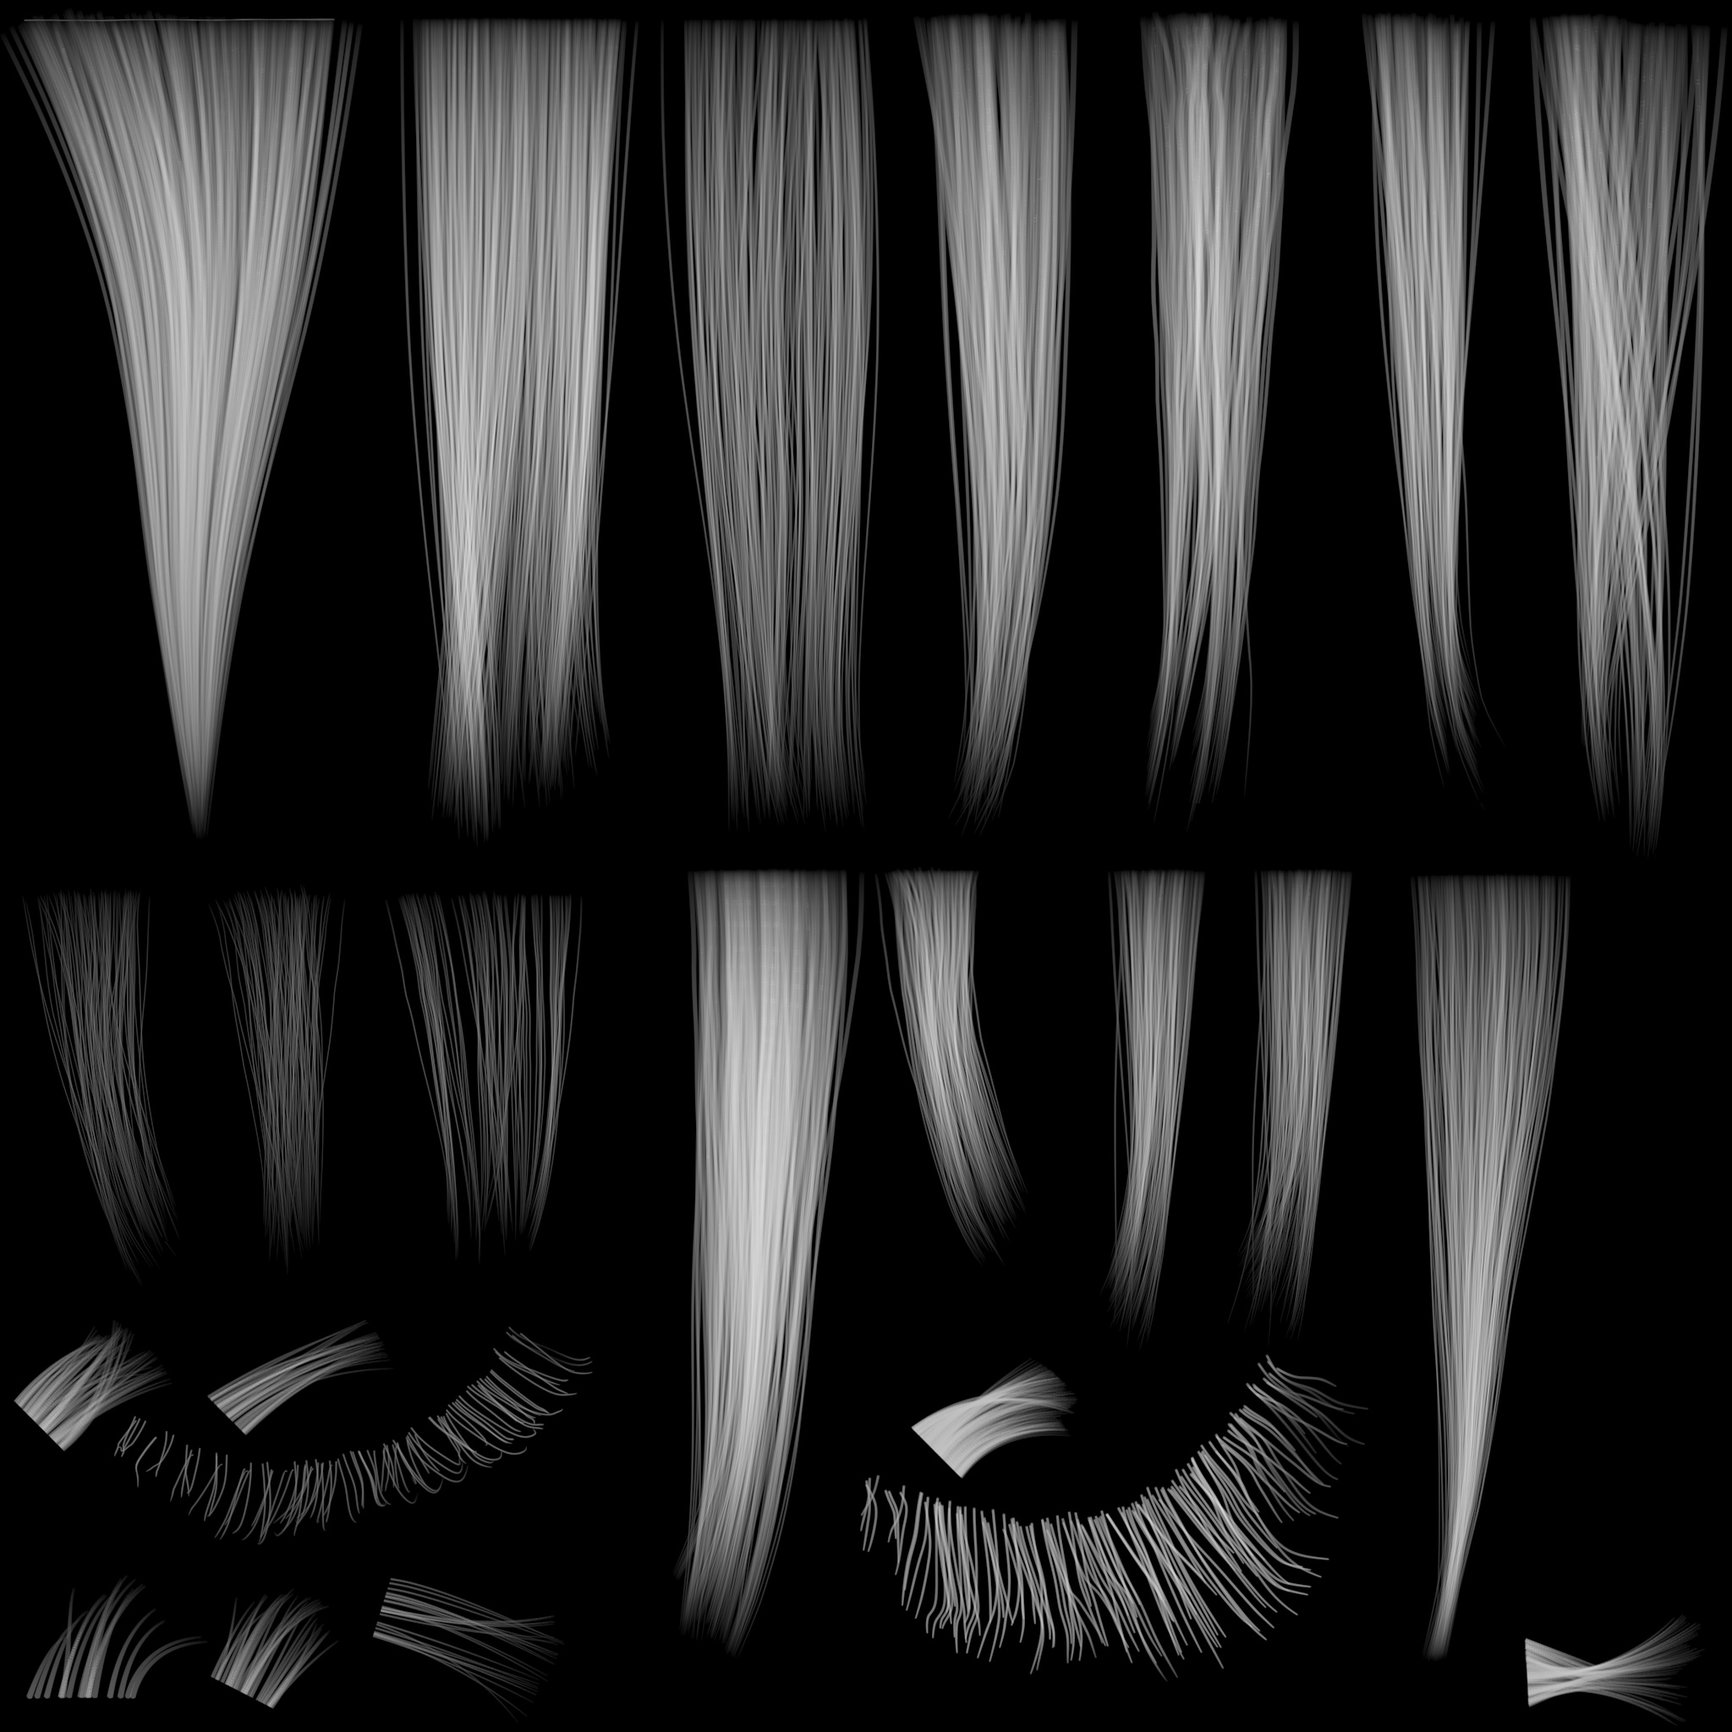
I use 3dsmax’s hair and fur hair system and vray, but any hair system and renderer will probably work. I place clumps of hair onto a flat plane and just render out different maps. I then UV map these onto planes and then place these in 3dsmax with the move tool.
You probably dont need to use some of these such as the tangent map since if you zoom in only a few strands are yellow the rest is green, so you can try out which ones can be replaced with a solid color.
Currently there is a problem with the backlit parameter with the shader. See here
To stop the hair from glowing when it is being lit from the backside you need to edit a line of code in the ShadingModels.usf found in “Epic Games\4.14\Engine\Shaders”.
Change
return HairShading( GBuffer, L, V, N, Shadow, 1, 0, Random );
to
return HairShading( GBuffer, L, V, N, Shadow, GBuffer.CustomData.z, 0, Random );
The line is right at the bottom.
Backlit from 0.2 to 1.0
Roughness also affects the backlit 0.2 to 1.0.
For the tangents: green stretches the specular horizontally, red vertically, yellow (mixing green and red) diagonally, and blue inverts the direction.
Heres a gif showing just the specular highlights and how it shifts.
When you use blue as the tangent you end up with the specular on the wrong side as seen here:
For coloured hair you need to increase the scatter.
You can also add tiling noise to break up the specular
One thing I have not tried yet is to transfer normals from another mesh onto the hair planes. Maybe this will help with the visible intersections of the planes and problems with the consistency of the specular highlights across different hair planes:
It seems that the problem with broken backlight on the hair shader model is still here, which is just crazy weird, considering Metahumans were introduced. Solution provided above (changing code in ShadingModels.usf doens’t change anything in UE 4.26.2.
Does anyone have and idea how to fix this problem in the current engine version?
**Shadow.HairTransmittance **parameter. Replace, the constant “1” value by “GBuffer.CustomData.z”
I don’t recommend adding the “bEvalMultiScatter” from the thread. It stopped my editor from loading
-TLDR-
Change this line in Engine\Shaders\Private\ShadingModels.ush: const float3 BsdfValue = HairShading(GBuffer, L, V, N, Shadow.TransmissionShadow, Shadow.HairTransmittance, 1, 0, uint2(0, 0));
To this: const float3 BsdfValue = HairShading(GBuffer, L, V, N, Shadow.TransmissionShadow, Shadow.HairTransmittance, GBuffer.CustomData.z, 0, uint2(0, 0));

