Create texture in photoshop UV or inside 3ds?

http://s27.postimg.org/6b48eisrz/house_1.jpg

So this is low poly old house, texturing is just for test. I created this in 3ds max, dimension cca 400x300x300 cm.
Then I manually do UV map, export UV to photoshop and do texturing in photoshop.
This is low version.

Here is my 2 examples of low poly models, created in 3ds max, but when I create UV map, I just import texture to 3ds max and set tile about cca 11x11 times to get high quality look.

http://s27.postimg.org/ifojsmbzj/barell_1.jpg

http://s27.postimg.org/3kzyeg2en/chair_1.jpg

But I have 3 questions:

1.) Which is better way, import uv map to photoshop and do texture job there, or just do trick with ID in 3ds max, and with multisub object import texture’s in 3ds and with tile option do final look?

2.) When I import UV map of 2048x2048 size in photoshop, and if I works with texture size of cca 1024x1024 pxl, I must decrease too much my textures (example: brick texture, roof texture) to put it on UV map. But when I decreasing my textures, I’m loosing quality of textures.
So then I create UV map of 8192x8192 size and then is most better because I dont need to decrease to much textures.

Is this a good way to use a UV map of that big size? 8192x8192?

3.) How to create normal map, AO map, rougnhess map etc, when I create complete textures in photoshop?

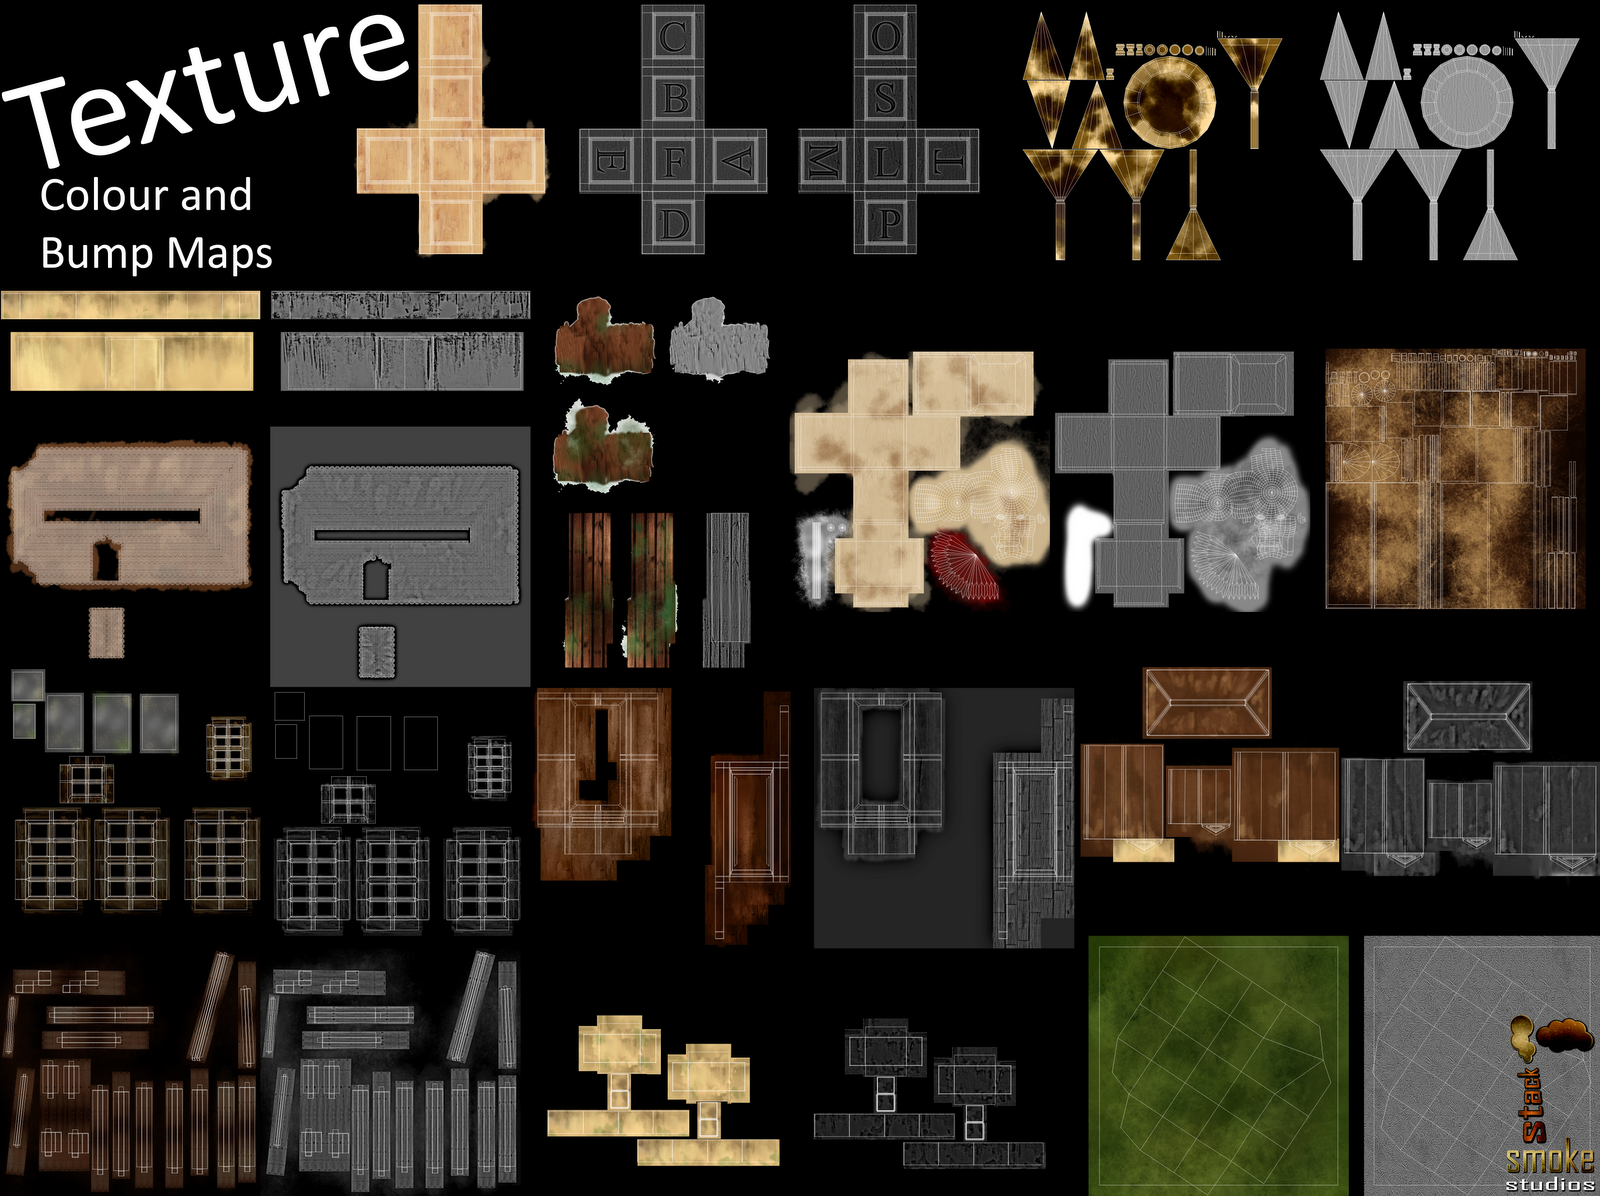
I mean, when I have complete texture created like this:

do I just need to import texture like that in B2M software and create my maps or I missed something?

Because when I work with simple tileing in 3ds max, I simple import my (for example) brick texture in B2M, and create all maps which I need (normal, AO…)and import them to 3ds max and set tileing to be exactly same size like difusse texture.

Thanks!
The best answer is a combination of the two. Make your unique UV maps but also use tiling texture to add more detail. Then you can use your unique UV map to make mask textures for if you need different parts to be different textures or material types. Ie… the cushion on your chair could just be a white mask… and you could use a metallic mask to give metal details etc and then still use separate tiling textures for both the wood and fabric.

You can create AO from heightmaps using the xnormal filter in photoshop but it will not be nearly a good as processing it from the geometry in either max or xnormal itself.

Try to avoid using multiple materials on a single object–in other words it’s better not to use Multi/Sub-Object materials. Each material increases draw calls so it’s good to keep the draw call count low.

And as far as texture resolution goes, you want to keep your resolution low–2k/4k/8k textures are probably not needed and you should avoid using that size. An alternative is to use tiled textures so you can use low resolution textures but still get high detail. And like Ryan was saying, you can use masks so that you can tile textures across different areas of a single mesh rather than using multiple materials.

Thanks guys.

But one little question, let’s say that this is my texture (this is web example):

9e2ad56832ccb558372acb4a20e109e8a2027c6b.jpeg

This is diffuse texture (map).

In this texture is 6 different part of texture.

And lets say that I want to make normal map and ambient oclusion map or metallic map, but only in some part of textures.
Example: metallic map on metal parts only, other parts will be zero (0).

Whic software do you suggest me to use to make maps like that?

I only use my B2M, but this is good only for single texture.
I know that I can do normal map in photoshop using nvidia plugin, but what with other maps?

Example 2: I only want use stronger AO map and normal map in second and fourth texture.

So I want a software where I can select in which part of texture I want harder maping, on which I dont wont maping etc.

Thanks!

What masks can I use?

I’m affraid that I dont know at what you thinking.

Look at my top picture, low poly church/house.

Now I have finished my high poly model, and made my low poly with only 600 polygons.
I use normal bump map to simulate high poly detail on low poly mesh.

But which is best way to make map for that house?

Export UV to photoshop and make texturing there, or make ID, and use multi sub object because this is larger object?

You could use Substance Painter and paint whatever parts you want on your texture!

Using a mask, you would have a black and white image where the parts of the UV where a particular texture should go (say for example brick) would be white, and you would bring in your brick texture in your material and use Lerp with the mask so that it only applies the brick texture on the part that you want the brick. Then you can do the same for wood and whatever other materials, just have a mask where white defines where that texture should go and then you can set it up in your material.

You don’t want to use multiple materials on a mesh since it increases draw calls, you get better performance if you can restrict everything to a single material. Also, you can combine masks into a single texture by putting a mask in one of the color channels, so you might have 3 masks in a single texture so one is in Red, one is in Green, and one in Blue.

Ok, I got it, I will try this method next week.

Today I’m trying to render uv template and texture it in photoshop, again :smiley:

0d8fec4c01e7ed5642109460dc80c57cf4f98c74.jpeg

So If i render UVW template in 1024x1024 res (1k), I cant work normaly in photoshop because my textures look prety low and bad.
So I use 2k render template, textured it, and when I save my file in tga. - it is about 15 megabites large.
But if I save it in png file, it is about 0,6 megabites, and there is no different in rendering.

I’m talking about just diffuse texture.
Can I use png file for models?

How png files react to normal maps, AO maps, metalic maps etc?

And if I use 1024x1024 size when I’m render uv template in 3ds, and opet ih photoshop to texture it, it looks prety bad, ugly pixels etc.
Minimum is 2048x2048 render uv template size to looks good.

But finnaly when I’m textured that

Your textures will automatically be compressed within UE4, so don’t worry about the size of the texture before you import it. PNG is fine, it’s a lossless compression. I personally just use TGA because it works better if I want to use an alpha channel. PNG and TGA will both work just as well for any texture.

Optimal texture resolution is something you want to determine from in game or in UE4.

Try out some texture programs like DDO and Substance Designer or Substance Painter. They really help, and texturing within Photoshop isn’t ideal for most types of assets.

Thank you, I realize that big models like this tower and church - need’s biger texture size. Smaller model’s can works with small size. Yes, I’m little stupid :smiley:

Thank you ZacD, seems that I only need practice and practice.

Guys, are you doing for every model normal bump map just for simulate smoothed edges?

I mean, if I only have box - do you make first high poly smoothed edges box and bake normal bump map, or for smaller object you just use chamfer, smooth and use model like that?

Example:

box with normal texture map but without nomal bump to simulate smoothed edges:

box with normal texture map but with nomal bump to simulate smoothed edges (created from high poly to low poly with cage projection):

Every model I make that’s at character size or larger I’ll make a high-poly and cage project onto a low poly to get normal-rounded corners. Smaller meshes I may only bevel once (chamfer) and make sure the vertex normals are smoothed. Tiny meshes I won’t bother, and I’ll leave them with hard corners.

For this, you would get better performance and quality by just rounding the corners of the mesh, since that would allow you to use a tiled material very easily and you wouldn’t have to create a unique normal map for that mesh. Plus, it’ll be faster. And the amount of memory that the rounded edges would take up would be less than the normal map.