Is there any particular color you’re wondering about, or just the overall tone?
If it’s the latter, I just bumped up the contrast and saturation slightly in the postprocess volume, and tinted the shadow a bit (these settings are found in the Film category of the PPV).
Shadow tinting is an old trick: since my foreground object is bright yellow/orange-ish, the best possible contrast color to go with that is some complementary dash of blue, so I made the shadows a lot more blue than they should be.
The blur is just motion blur, and lots of it (Amount: 1.0, Max: 100).
I must however stress that none of these clips are intended to look good in any way, since I’m focused on prototyping the functionality. Proper models, textures and environments will come later. So any particular qualities you may be perceiving are purely by chance and the direct result of me spending maybe ten minutes on some “clickety-click… OK, that’ll do for now.”
…and, of course, the general awesomeness of the UE4 rendering and postprocessing system, which can make even ugly stuff look kind of decent!
Wow this is more what I wanted to know ! But in a positive way Thank you for that text. I basically wondered how you get the white texture to this smooth orange/brown color. I’m new to material settings and so on.
Yep. I love love love love UE4. Its rendering is just awesome. And the blueprint too !
Haha! Well, that’s easier. I won’t tell you exactly what color I’m using, but I will show you how to deal with this and find your own color of choice.
The thing about color is that you have to be able to tweak it in realtime, and in context next to other things with other colors, because the way one perceives a specific color depends a lot on what other colors are seen next to it.
So, what you do is set up a base material with some key inputs parametrized, compile that once, and then create material instances based off it, which can then be tweaked in realtime.
The base material for my reference grid looks like this:
You’ll notice that the BaseColor parameter is simply multiplied with the black and white grid texture (that’s why it’s black and white).
To make a material instance based on this, right-click on the base material in the content browser, then pick Create Material Instance (MI). Apply the MI to your mesh, open the MI in the editor and override the vector parameter for color. Changes to that color value will now be shown on your mesh as they happen.
Didn’t mean to hijack your post, but I just want to say thanks on your Quick How to Video.
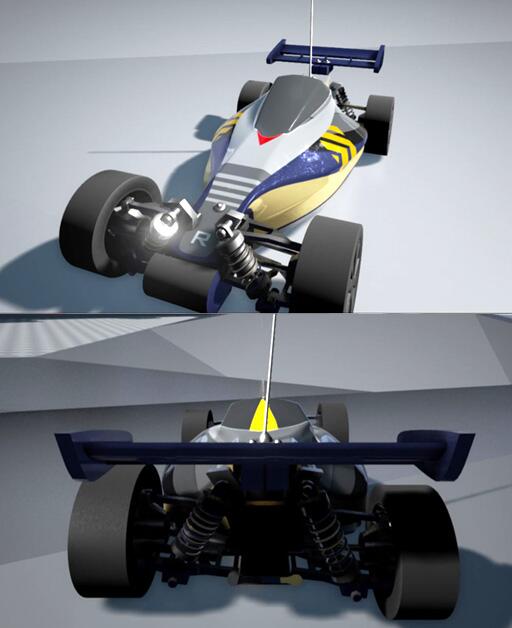
I examined the video carefully and it get me started to make my own Buggy RC in 3DsMax
All the arms and suspensions are functioning [50 bones total]
Yeah Pause and HD View is useful in Youtube. But readable version would be awesome.
Thanks for the compliment btw
I’ll post mine too at some point for comparison. I’m curious as I didn’t have as many look up constraints (or maybe I did but just didn’t look as much lOl).
I did have 3 pair of bones for each top/mid/dn arm for all 4 wheels and additional bones for front left and right steering.
I will be tweaking my vehicle Physics and camera next, currently I have problem with car jittering at medium to high speed, any idea why?
Ideally I would like to make my car to be 1 Gear with High torque just like my real brushless Electric RC hehehe, right now it still have 5 gears XD
Btw, your camera demo is AMAZING. I’m going to invesitgate and learn how to make an external FPS view switch of the RC at some point.
That would be great. Having a hard time figureing out how to constraint what to what to achieve the arch for the wheels.
is there a bone from wheel to chassis joint? Or how did you achieve that the distance between chassis and wheel doesent change?
And is there a bone from root to the suspension and from that to the endpoint of the suspension so that can this is animated?
Maybe a picture where all bones of 1 wheel could give me enough. In the video theres only a joint from the wheel and the 1 bone with upper and lower joint for the suspension visible.
 How do you archive this nice color?