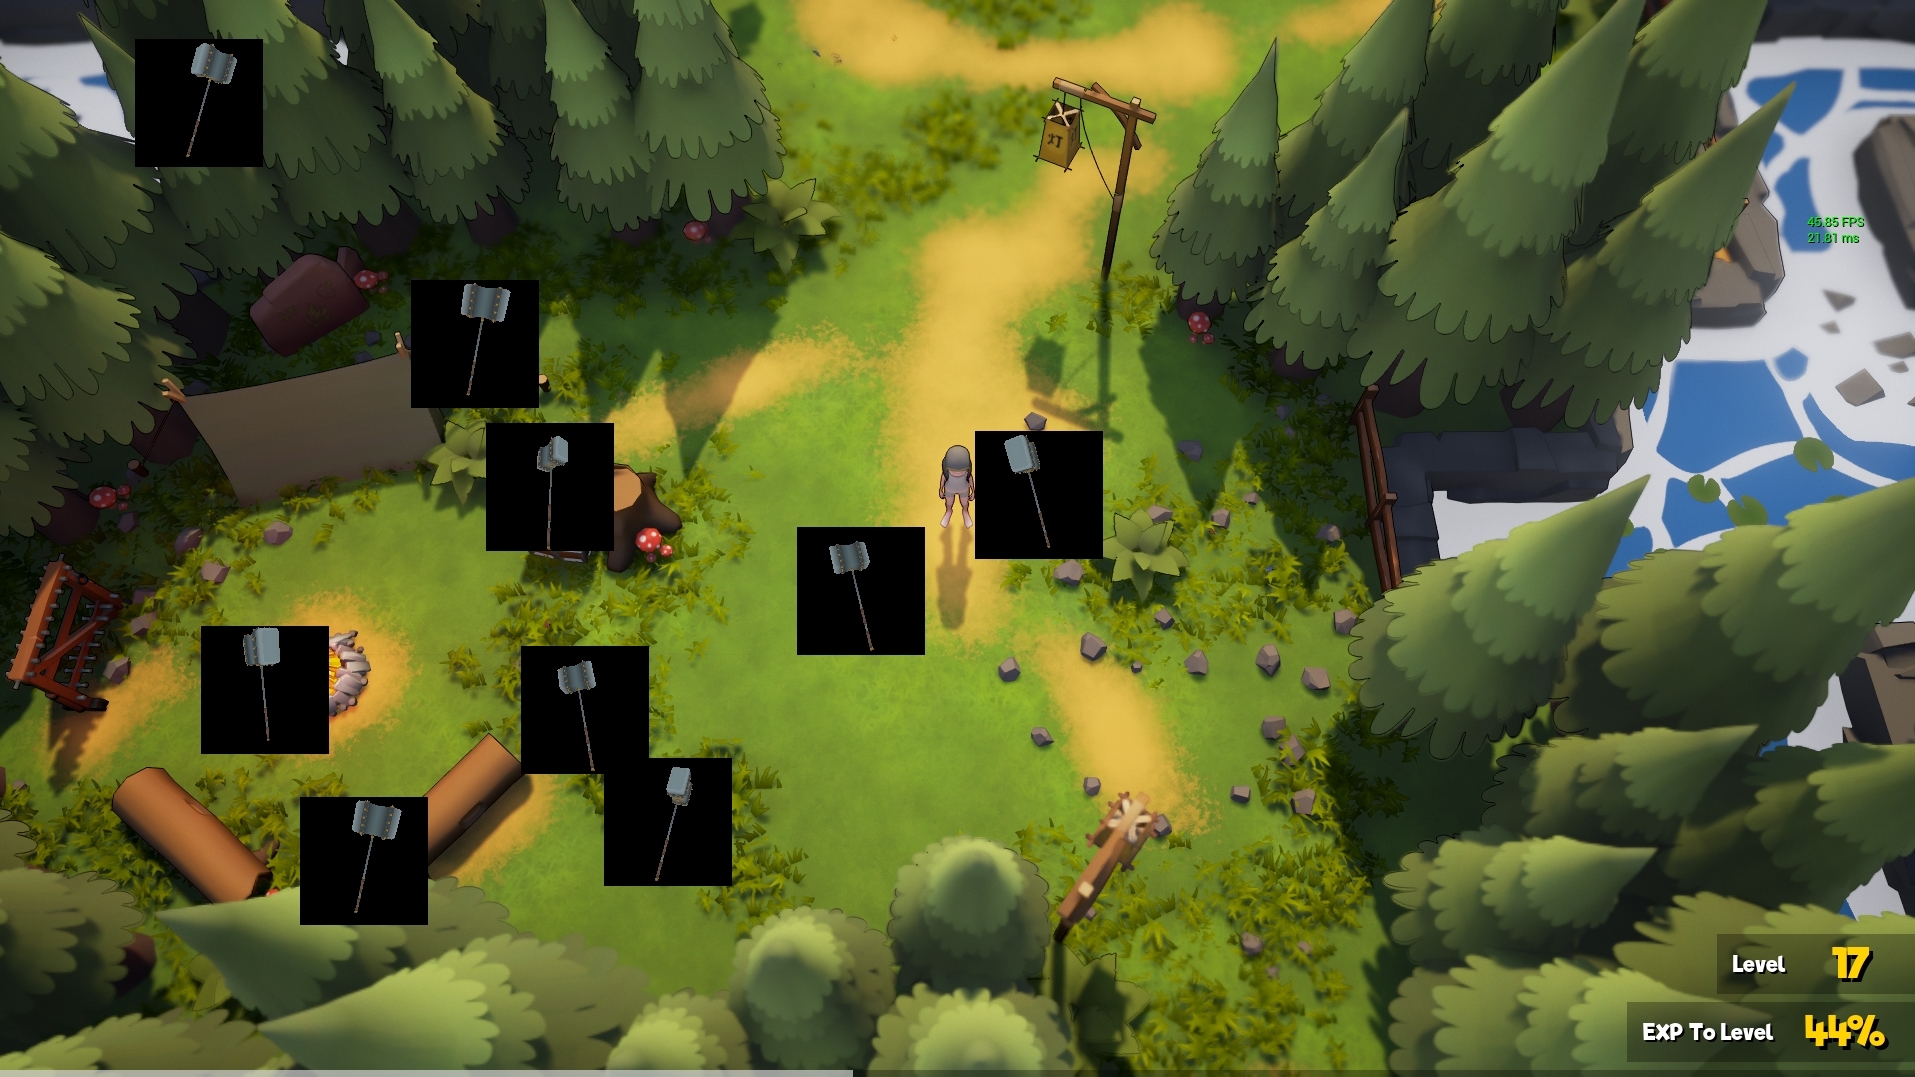
Dynamic “Mesh Widgets”
When I envisioned my inventory system, I pictured a rotating 3D representation of the item as a tooltip. This turned out to be quite a bit more complicated than I anticipated, but I believe I have landed on a good solution, being a Widget class that only requires a “Mesh” input at its creation. Bonus: all in Blueprints!

Before we get started, props to for writing a good starting point for projecting meshes into widgets. A good primer just in case I don’t explain this well enough.
1. Create your assets

A. MeshWidget - This is a standard “Widget Blueprint” that we will use to project on the screen.
B. MeshWidget_actor - This is a standard “Actor Blueprint” that we will use as the 3D visual.
C. MeshWidget_mat - This is a base “Material” asset that will be used to transfer the visual from the actor to the widget.
2. Setup your material
A. Open up your MeshWidget_mat material. It should be a base, empty material with just two nodes.
B. Right-click in empty space, and type TextureSampleParameter2D. This should allow you to create the node you need.
C. Name the resulting node anything you want, but remember what you named it. I name mine Source.

D. Configure the Result Node to use the Material Domain: User Interface
E. Lastly, ensure the two nodes are connected as seen above, and you’re done.
3. Setup your actor
A. Open up your MeshWidget_actor. It should be a base, empty actor with just a DefaultSceneRoot.
B. Add a SkeletalMesh component. Configure it for any mesh you want, or none at all. Name it something you can remember. (DollMesh)
C. Add a SceneCaptureComponent2D, and move/rotate it to face the SkeletalMesh. This is your camera. Name it something you can remember. (Mirror2D)

D. The above two components are the only ones truly necessary to make this actor work, but this is where you have artistic freedom. I personally added a backdrop using a StaticMesh, and some fire effects using a ParticleSystem. Add whatever you want, so long as you remember…
E. Configure the Rendering and Collision settings for every component you use. You do not want these showing up in the world or colliding with anything. The principle method to achieve this is by checking the OwnerSoSee option.

F. Head on over to the EventGraph, and create a new Function that we will use to setup the camera. I named mine MakeMirror.
G. Configure the function like so:

H. This is the juicy stuff… but it’s not as complicated as it looks. We are dynamically creating a new RenderTarget2D, and configuring our Mirror2D (facing the mesh) to send its live feed to it. We are then going on to create a dynamic instance of the material we made previously, and assigning its Source to our new RenderTarget2D.
I. On the tail end of the function, promote the dynamic material we made to a variable for future use. I named it MyMirror because it’s essentially a 2D image of what’s going on with that actor.
J. Head back to the event graph, and configure a new SkeletalMesh variable. This is what we’re going to use to be told, at the time this actor is spawned, what mesh to put on display. Ensure that you check Editable and ExposeAtSpawn. This allows us assign this variable to something at the time of spawning it. I named mine InputMesh.
K. Next, Configure the main event graph like so. Note that we are taking the aforementioned InputMesh and using it so set the DollMesh in the scene. Immediately following, we run the MakeMirror function we just created.
L. The rotation Tick event is not necessary, but looks really cool.
4. Setup your Widget
A. Almost done! Open your MeshWidget. It should be blank.
B. Configure your variables like so. You will need a SlateBrush, Actor, and SkeletalMesh. For the SkeletalMesh, ensure that you set Editable and ExposeAtSpawn the same way we did before. You’ll see why in the next section.

C. Next, configure your ConstructionScript like so. Note that when we select our MeshWidget_actor as the actor to spawn, we get a handy little pin to set the mesh! Thanks, Editable & ExposeAtSpawn! Also note (and make sure you don’t miss this…) that the owner is set to the player’s Pawn. This is very important, because the previous OwnerNoSee option will not work otherwise. After elevating the resultant actor to a variable for future use, we take the actor’s MyMirror variable and assign it to a brush variable.

D. To keep things clean, I added an EventDestruct event that destroys the actor we spawned. This way, when the widget dies, so does the actor.
E. Finally, in the Designer tab, make an image of some sort, and Bind the Brush Variable we just made to it. Like this:

D. You’re done! Let’s make some Widgets!
5. Create an instance of your fancy new widget
A. Because we made sure to configure our InputMesh variable correctly, we can assign any mesh we want at the time of creation:

I hope this helps some people with the same goal I had. There are plenty of possibilities in modifying and improving this method, using the widget to take mouse input and rotate the actor for example. Like this. Please let me know if I can answer any questions, you have suggestions to improve the tutorial, or you see a typo.
Happy Blueprinting


