Sure thing. I just wrote up a more detailed doc for a contractor so I have all the images. This probably has more info than you need.
The basic idea behind spline thicken is that it is like a camera facing sprite that follows a path. The “path” is basically just a pre made row of thin hair like polygons. The vertex shader then extends these polygons in a direction that is always perpendicular to the camera direction so the mesh always appears to be of the same thickness when viewed from any direction.Here is a quick example I made using 3dsmax.
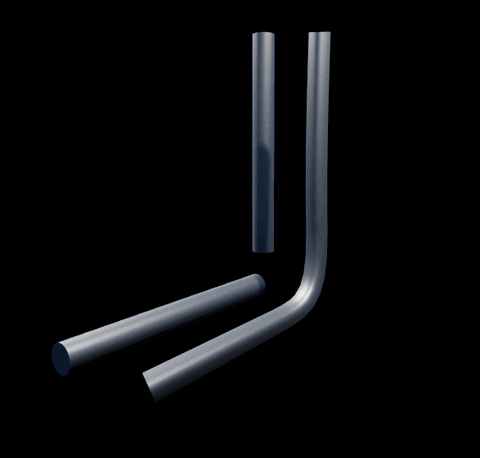
First I draw a line with a bent pipe shape. Then go to settings for the line and check both “enable in renderer” and “enable in viewport” and “Generate Mapping Coords”. Set sides to 4 since unfortunately that is the minimum and set angle to 45 so we can more easily delete the extra faces.

Next convert to editable poly and select and delete all but one strip of faces (this step is only necessary when using the line tool and can usually be removed from modelling workflow by other means)

The simplest method is to make the polys very thin, but you can also leave them at a specified thickness and then de-project in the material in UE4 in order to get better static lighting support but that shouldn’t be necessary for this project:

Finally you want to give each polygon 0-1 UVs by adding an UnwrapUVW modifier and stretching the UVs horizontally to fit 0-1. You can also adjust the Y to be uniform or just adjust it in the material later.
In addition to checking 2-sided also make sure to uncheck “tangent space normal” on the material (the need for 2 sided is just a bug, I believe tangent direction flipped since this function was made. you can also use negative width params but that will flip the normals):
For the material, if you are using the default projection along tangent U, you shouldn’t have to do anything besides this:
If you set it up right, it should match actual geometry almost perfectly, when the viewing angle is not parallel with the spline which causes artifacts:
You can do tons of cool things with spline thicken. Here is a prototype stony coral I made using a really quick crappy material:

This smaller one shows the wireframe:

And yes, all of this has been passed on to the docs team but I am not sure when they can get to adding it.
Re: your specific questions in the images:
The “Expand U or V” option allows you to expand the spline either along the UV.X or the UV.Y channel. The example above uses the X channel and I suggest sticking to that and leaving it alone.
WorldPosition input is only for very specific effects, such as when you want to apply other offsets to the spline before thickening. 99% of cases don’t need to hook anything to WorldPosition input. Certainly don’t put cameraposition there.
The “Width Base” and tip are how wide it projects the verts from the spline in world units. It will use the opposite of the proection axis in the UVs to blend between the two values. So for the default option where it projects using U (UV.x), it will use UV.Y to fade between width base and tip.