UE4’s shading is deferred, this means that all lighting is done as a postprocess. This means there is currently no Custom Lighting path like there was in UE3. If you want to investigate a stylized look I suggest looking at PostProcess Blendables. This allows you to create a material that applies to the whole screen as a postprocess. There you have access to all of the Gbuffer channels and can do some really neat things.
Neither of these tutorials actually go through the whole process, they only show certain functions of it. So I’d like to continue this thread to help figure out how to create a cartoon look like this in UE4.
What I have played with so far, is UDK tutorials such as this. But before I simply port that over to UDK, I’d like to experiment with what Jordan explained with the outlines, so far I have turned on CustomDepth and used it to visualize the depth as he shows in his tutorial. But now how do we use that Depth information, to create an outline around the object?
I’ll be working on this all weekend so I’m open to all suggestions.
Thank y’all for responding and suggesting me to use the post process.
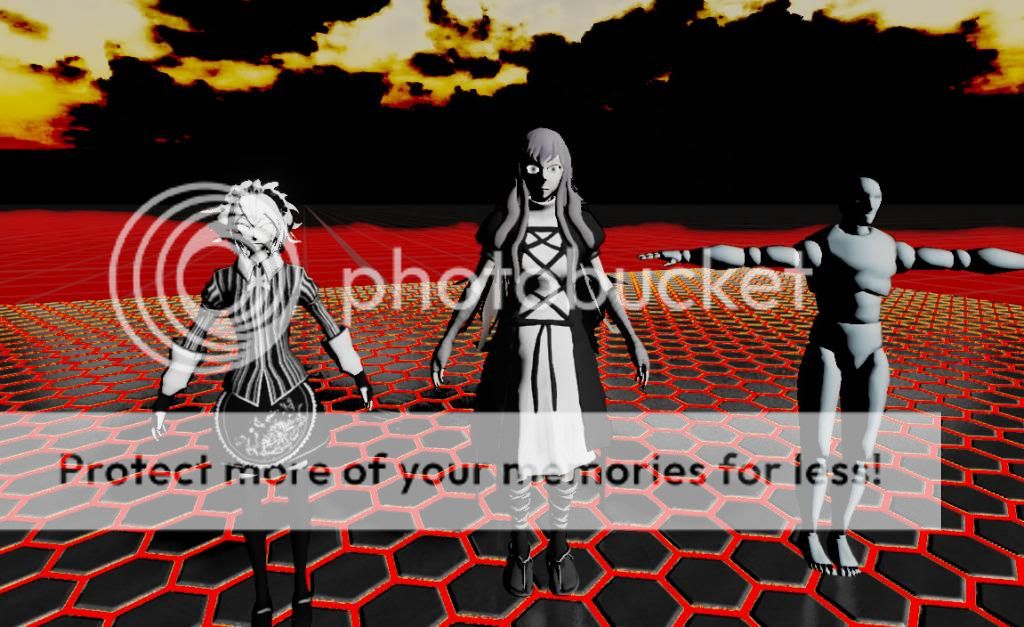
With That I was able to get a Cel shade going.
What I did was first make the lighting for the post processing. I used a SceneTexture:SceneColor and a 4Vector and Dot Product them. This will saturate the color in the scene.
Then added a Ceil and divide by a number constant Constant Scaler. This Constant Scaler will give that number of bands (as I called them) to the lighting. I chose 1 because I wanted to go for and anime style Cel shade.
Thand I added a clamp to it having it about around 0.0 or 0.5 in min and 1 on max just to get rid of the Black shadows.
After that I multiply a SceneTexture:Diffusetexture (SceneTexture:BaseColor will also Do too) to it to bring bring back it base colors.
This is not perfect to say at least because the Emisive textures will be missing, So I’ll be continuing on making it better.
Could you share your blueprints so I can follow it visually at all? I tried using the tutorials, but they don’t seem to be follow-a-able and I can’t find the things you’ve explain in your mini-tut.
I’m using the Material editor, Not a BP. I Don’t want to give out the visuals. I want people to figure this out on there own. (I know that mean, but that how I’m doing this.)
Still trying to figure out how to do the outline effect using CustomDepth. I know how to put it together I just don’t know which parts to use because honestly…some of these functions are greek to me. Will post more as I find it.
–To KitatusStudios: To be fair,JvtheWanderer did point into a direction we can try, asking him to share the exact details would lower the value of his work since then anyone could replicate it by copying the steps. If you get stuck though, I’m sure he’d be willing to nudge you in the right direction, just not draw a perfect step by step instruction manual.
Been trying to put together what Jvthewanderer did, in hopes that I’ll learn something about the material functions…Starting to feel like Homer Simpson “Le Grill??? What the hell is that?!?”
Okay SceneColor…that’s the color of the scene…4Vector that’s a number for each color channel? Dot? That makes it into dots? Ceil? What is a Ceil? Is that like Veil? I don’t eat veil…Aw ****. Time to read UE4 documentation some more.
Think I have a good handle on Clamp, that restricts the value of things to a range, no idea what ConstantScaler is or where to find it…At the very least I hope my struggles documented here amuses someone.
See I would have just called that a Constant, but then I realized a solid texture could be called a constant, so when you say scaler you mean specifically a number you could SCALE!! oooh okay…I am learning things now lol.
Thank you, I’m still way out of my element here but I appreciate the help.
Edit - You said you did SceneColor, 4Vector and Dot and that saturated things…for me it’s turning everything into black and white noir look. Am I doing something wrong?
One infuriating thing I am wondering, is where are these Showcases that are mentioned so many times in here?Did I do my install wrong?
You got it right. That is going to be used to make the Band. All you have to do now is place a ceil with it then have it divide to a constant Scaler number. The Constant Scaler be divided can be any number you like because it define how many bands you want. Once you have that, you can then place a clamp to set the min and max number that define how dark the shadow or how light the light that is bouncing of the mesh. Then After that you will need to multply a SceneTexture: DiffuseColor or a SceneTexture:Colorbase and you should have you toon shader minus the emissive. (Still figuring out how to bring back the Emissive Color)
i cant wait for that stylized demo to come, i assume they will put it on the marketplace soon since they are docs for it. nice to see that UE4 could be used for non realistic applications too!
So what I am trying to do now that I kinda got a grasp on what JvtheWanderer was doing (thanks by the way sir!) I went back to doing what I was originally trying to do, and that’s add a black outline around everything to give it more of a cartoon look. That’s what I use here and I think it works pretty well.
Here’s what that effect looks like, after my friend (Juggernut) figured it out.
Now I worry about is the opacity, UE4 doesn’t leave that open so would this even work?
The last hurdle I will have is that “separateTranslucency” isn’t supported yet, which means nearly all particle effects will look bad if this effect is applied to them since they rely heavily on transparency. Any ideas or thoughts?
Edit-Figured out that the Float4to2 was code in a custom node (why didn’t I figure that out faster) so was the 8Average. The Float4to2 code is return float2(A.x.A.v); No idea what that does. As far as I’m concerned, it’s a magical incantation…or maybe it turns a three dimensional value into a one digit value? I’ll figure it out eventually…
Sigh…so I did this whole thing in UE4…but it doesn’t look like I can get it to work without opacity. That and I keep getting an error “CustomeExpression0: fuction must return a value” that might just be a typing mistake on my part though so I see if I can fix that…
The question is, if I can’t use this UDK version of adding an outline around objects…how do I do it?


 nice to see that UE4 could be used for non realistic applications too!